2200+ 5 star reviews
Chat now! We're online and ‘hair’ to help.
Chat now! We're online and ‘hair’ to help.
 2200+ 5 star reviews


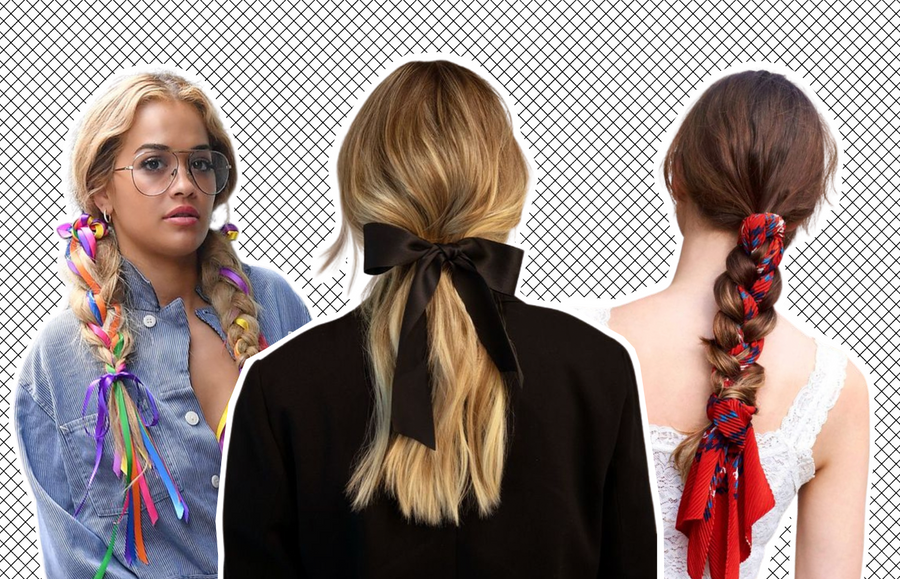
IN THIS ARTICLE
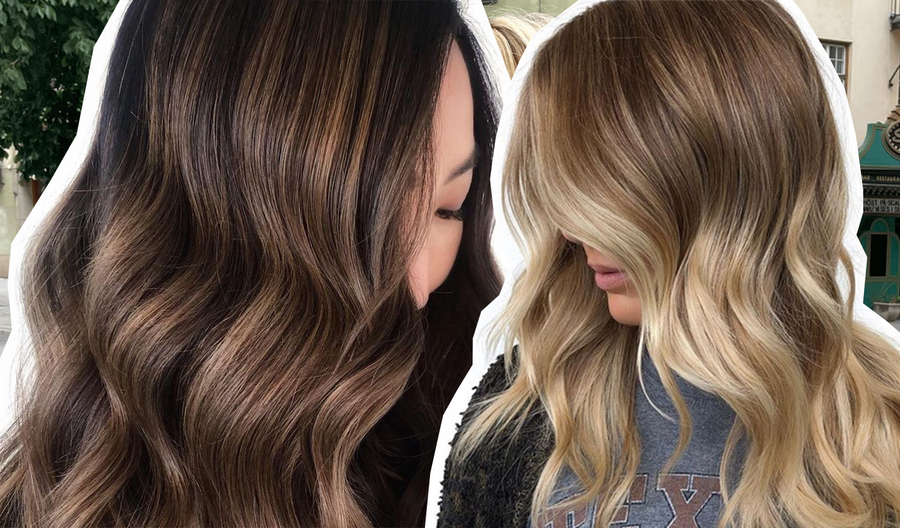
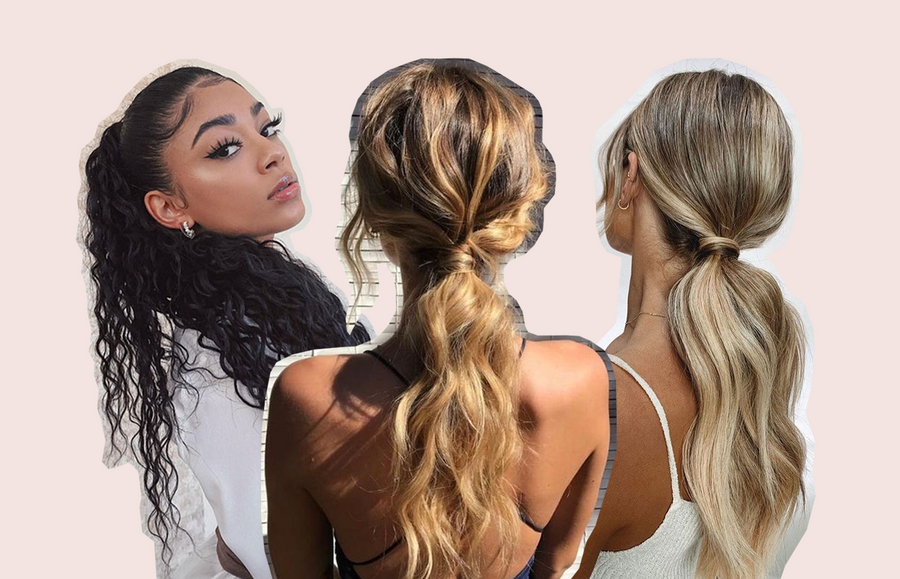
Halo hair extensions aren't a one-trick pony. Getting thicker, longer hair is only the beginning.
Naturally, once you've got more hair to play with you can achieve a wider range of hairstyles that were once deemed impossible with fine hair.
Braids, being one of them!
If you're reading this I'm assuming you're either:
a) interested in learning how to do braided hairstyles in general, or
b) are now the proud owner of a Sitting Pretty halo extension and want to know how to wear your halo in a braid.
Either way, here are my top 3 braided hairstyles to try and how you can achieve them with the Sitting Pretty Halo.
Read next: Why I Have Two Halo Hair Extensions
Hair extensions are a great way to enhance braids when you need extra volume and length.
If you need extensions to give your braids more oomph, a halo is your best bet.
The halo is the best extension for braided hairstyles.
Why?
Because it’s easy, won't pull or damage your own hair and the best part; the halo sits so low at the back of your head and under your hair, that any braided hairstyles will hide the halo perfectly.
Whereas creating these same looks with clip in extensions can prove to be a little more difficult to hide as you're braiding the hair.
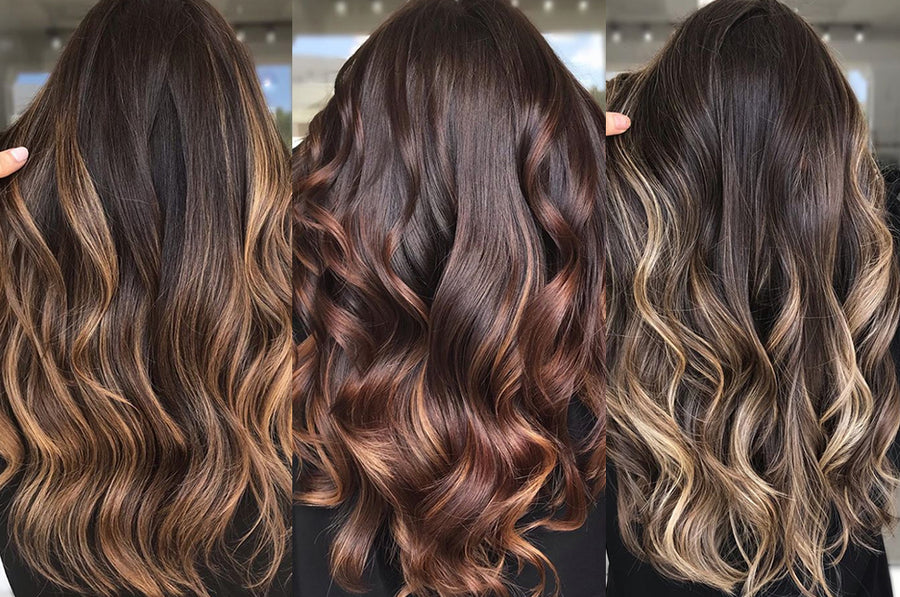
For each of these braids, we've used the THICK Sitting Pretty Halo to add a whole lot of volume and extra length.
You'll see in the photos below that we've shown the hair before the Sitting Pretty Halo too, so you can see how the SP halo helps create the perfect braids on girls with short or fine hair.

BEFORE & AFTER: French braids using the THICK Sitting Pretty Halo in col. Beige Blonde + Dark Blonde 613/10
Ever attempted double french braids on short or fine hair?
Then you'd be familiar with how fiddly and frustrating it can be.
Pieces of hair slip out of your hands while you're braiding...
You can't seem to evenly pull enough hair as you braid...
You get the gist.
The perks of braiding with the SP Halo is that it instantly becomes much easier to grab pieces of hair for braiding.
The results is thick, luscious braids created effortlessly.
If you're more of a visual thinker, watch the video below to see how we created these french braids on Shannon:
-->
Read next: 5 Amazing Hairstyles With Halo Hair Extensions

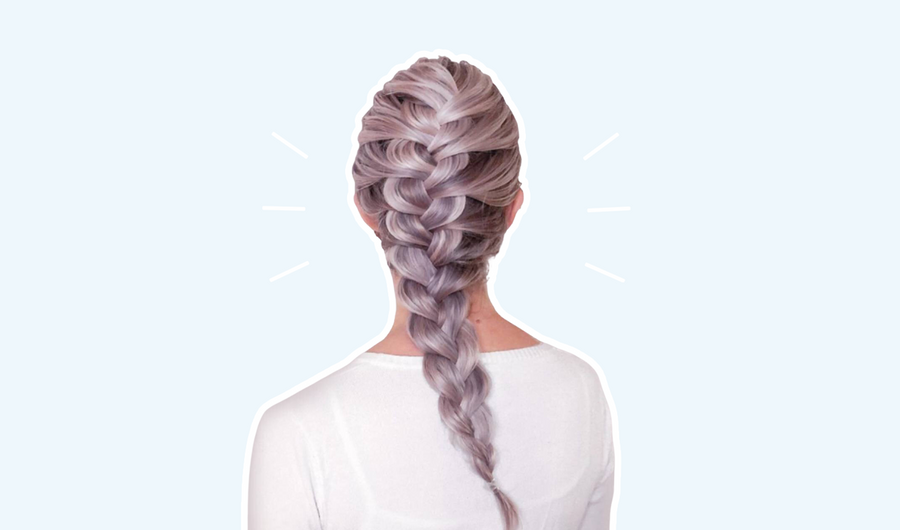
BEFORE & AFTER: Braid crown using the THICK Sitting Pretty Halo in col. Beige Blonde + Dark Blonde 613/10 for extra length and volume.
Before you go putting the braided half updo into the 'too hard' basket, read this:
This braided crown is simply two separate braids pinned together.
That's it.
No super complicated weaving of the hair.
I know right - 10x easier and less intimidating than you thought.
I'd seen this boho braid 'do floating around the internet and thought it was too advanced for the hands of a styling novice like myself.
That is until friend and hairstylist Emma Chen showed us how easy it is.
TRY IT:
And you've done it!
No complicated 5 part braid. Just two normal braids twisted into each other.
From there you can add any extra pins if you need to make the braid crown more secure.
You can also lightly tug at the braids again to make them look fatter.
Emphasis on lightly - the last thing you want to do is pull at a braid too hard and undo all your work.
The best part?
Aside from this braided hairstyle looking 100% bomb...
It also completely hides your Sitting Pretty Halo and secures it in place.
You might also love: 3 Instant Tricks To Hide Short Hair Under Extensions

BEFORE & AFTER: Braid using the THICK Sitting Pretty Halo in col. Beige Blonde 613.
Creating this braid is super easy.
It's applying the same braiding technique we've used in the other two braids, but directing all the hair to the back of your head.
Admittedly, I thought this one was going to be difficult to do on your own hair since you can't see what you're doing.
So I just tried this braided hairstyle on my own hair now and it's surprisingly easy.
TRY IT:
If you're loving hair clips and pins as much as we are, you can add some embellished pins into your braid to create this bejewelled effect.
It's a great idea for festivals and parties where you want to make your hairstyle a little more extra!
If you want more hairstyling tutorials, grab the popcorn and click here.