2200+ 5 star reviews
Chat now! We're online and ‘hair’ to help.
Chat now! We're online and ‘hair’ to help.
 2200+ 5 star reviews


IN THIS ARTICLE
I used to think you either were a messy bun person, or you weren't. Some girls can just throw their hair up into a work of messy, tousled art.
I don't know what kind of hair tie masterclass they attended. But whenever I try to use a hair tie to create a quick messy bun, the result is either:
a) Too much of a neat ballerina bun.
b) Messy, but like birds nest.
So I started believing the twisted messy bun was actually a much more complicated style that should be reserved for special occasions...
(where I spend more than 2 minutes on my hair).
But that was until I witnessed Emma Chen's twisted messy bun tutorial,
(at the bottom, but don't skip ahead just yet).
Okay, so it's not the same as how my friend throws her hair in a perfect bun out of the blue. Maybe she's just gifted?
But Emma's messy bun step by step tutorial will give you an updo appropriate of any occasion, from brunch to a wedding.
The best part? It really does only take 2 minutes to do.
However, before watching Emma's messy bun how to video, make sure you read the prep part below, so that you don't miss the vital steps in making your messy bun updo all it can be!
And before you ask: yes, this is the perfect low messy bun for thin hair! And thick hair too.
Now let's learn how to messy bun!
(Don't skip this part - it's important)
Depending on what occasion you're wearing your messy bun for...
...you might want to turn it up a notch and style your hair pre-bun.
And of course:
For casual occasions, you'll likely just want to cut straight to doing the bun.
But
If you're wearing this messy bun for an all-day or all-night event...
...and it needs to stay in place, then;
Start with this prep;
Now onto what we're all here for, the messy bun hack...
Remember:
Read each of the messy bun step by step instructions below, so that you don't miss any of the important details.
It's all about the one-percenters!
And...
I should mention that this is the perfect messy bun for short hair, long hair, and everything in between.
Or if you want a messy bun on natural hair?
This is it!
So
Let's get onto the steps for this messy bun:
Also read: 10 Frequently Asked Questions About Halo Hair Extensions

But not a regular ponytail.
This is a special messy bun ponytail.
First:
You want to leave two sections out of the ponytail on either side of your face.
Leave a thick enough piece of hair that you can twist it back and pin it on the other side of your head.
Also
Make sure you leave enough hair in the ponytail section at the back of your head.
And...
If you don't have enough hair to have three thick sections, I recommend wearing your Sitting Pretty Halo for this look.
Well, who am I kidding, I recommend the SP halo for every look. Why not do ALL your hairstyles with thick hair? ;)
Anyway...
Tie your ponytail with a hair tie and then move on to step two.
Popular post: Ridiculously Easy Volume Hacks For Your Ponytail

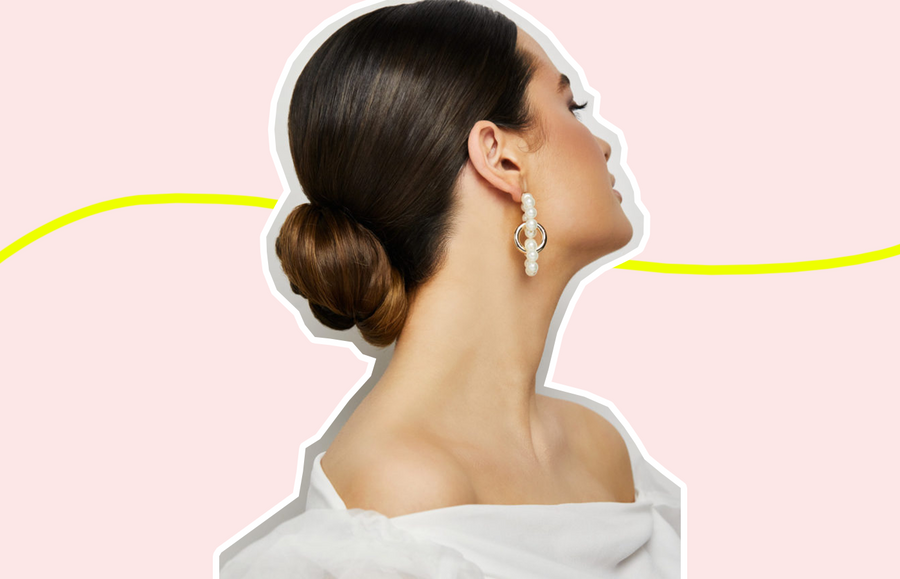
Although, for unexplained reasons, twisted hair always looks very advanced, it's actually quite simple to create the twists in this bun.
Firstly
Take the sections around your face and simply twist each section as you direct it back across your head.
Then pin the end of the left section to the right side of your head, and repeat on the right side.
Popular article: Protective Sleep Hairstyles To Avoid Hair Damage

Now...
...here's where the magic happens.
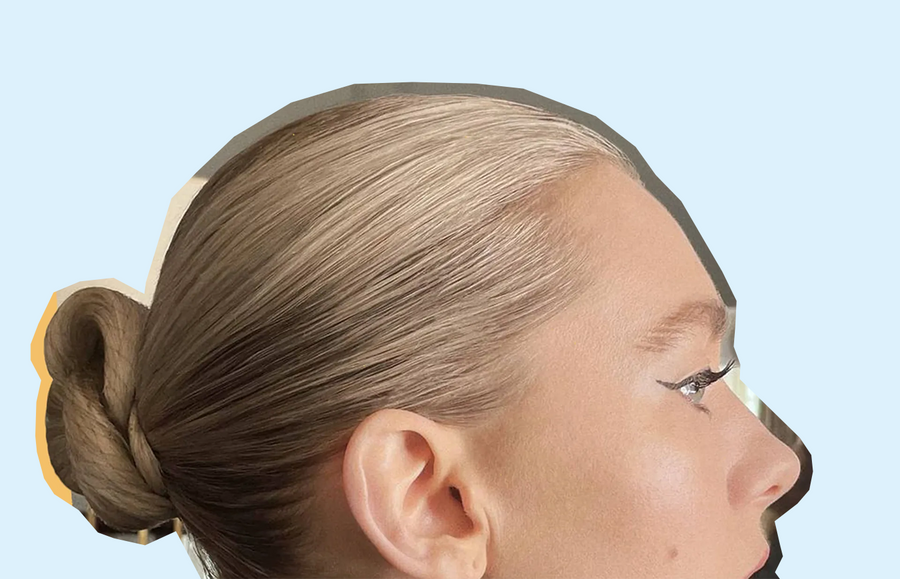
Naturally, you'd think that you get the ponytail section of hair and twist it into a bun.
Wrong.
The trick is to split the ponytail into two.
And then:
Twist the two sections around each other as you simultaneously move it into a bun.
Secure with pins.
And...
...you're done!
Others read: 5 Simple Tips For Growing Your Hair in 3 Months Or Less
Now that you've read the detailed instructions for creating this messy bun hair style...
...check out all the steps of Emma's messy bun for long hair tutorial:
(Works for short hair and curly hair, and can be spruced up with a messy bun scrunchie too).
-->
This is the messy bun for wedding hair and casual occasions alike.
So
If you're looking for a hairdo that's versatile, you can pair this messy bun with hats, hair extensions, and spruce it up with other messy bun styles to suit your cause.
This is the ideal messy bun for long thick hair, but works just as well for short thin hair. And works for those curly-girls too.
If you have any comments, thoughts or tips to share, please leave a comment below!
READ NEXT: