
The Latest
Your hair goals are ours. Get all the hair help you need, and give yourself a good hair day whenever you feel like it.
How to Protect Hair From Hard Water
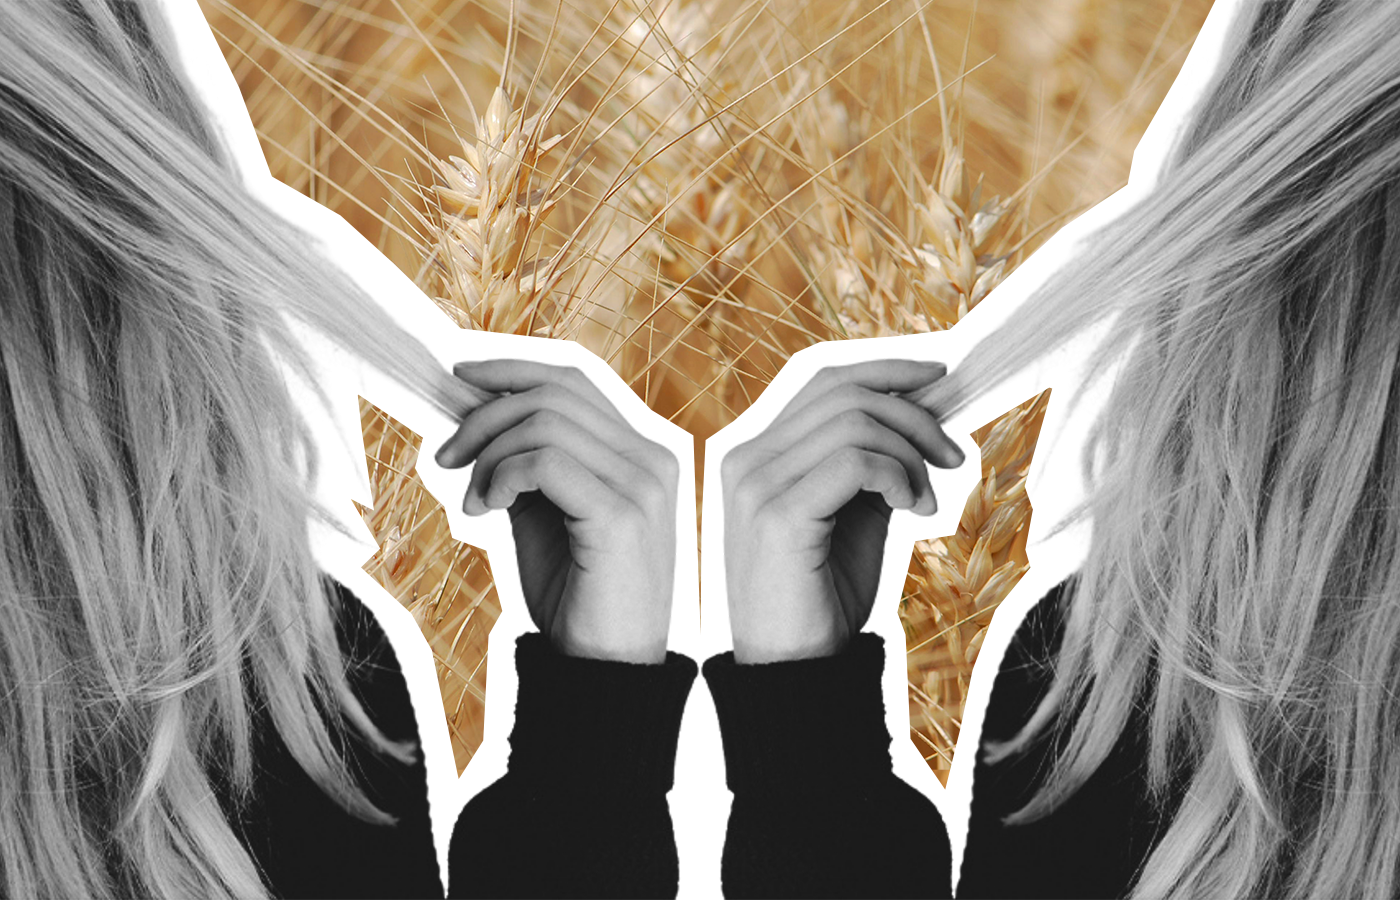
Bad Ingredients in Shampoo You Should Stay Away From
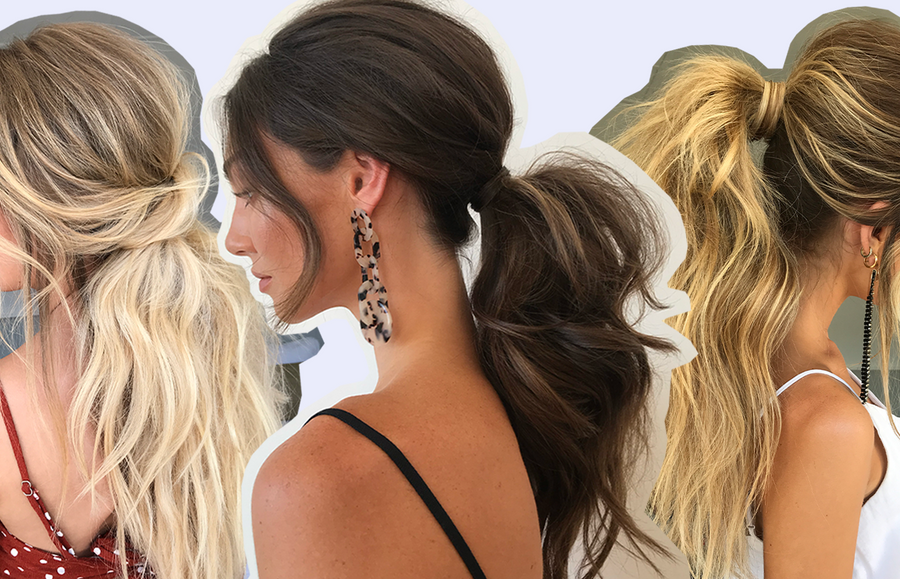
The Ponytail Volume Tools Your Hair Needs
How to Fix Oily Hair and Other Greasy Hair Hacks
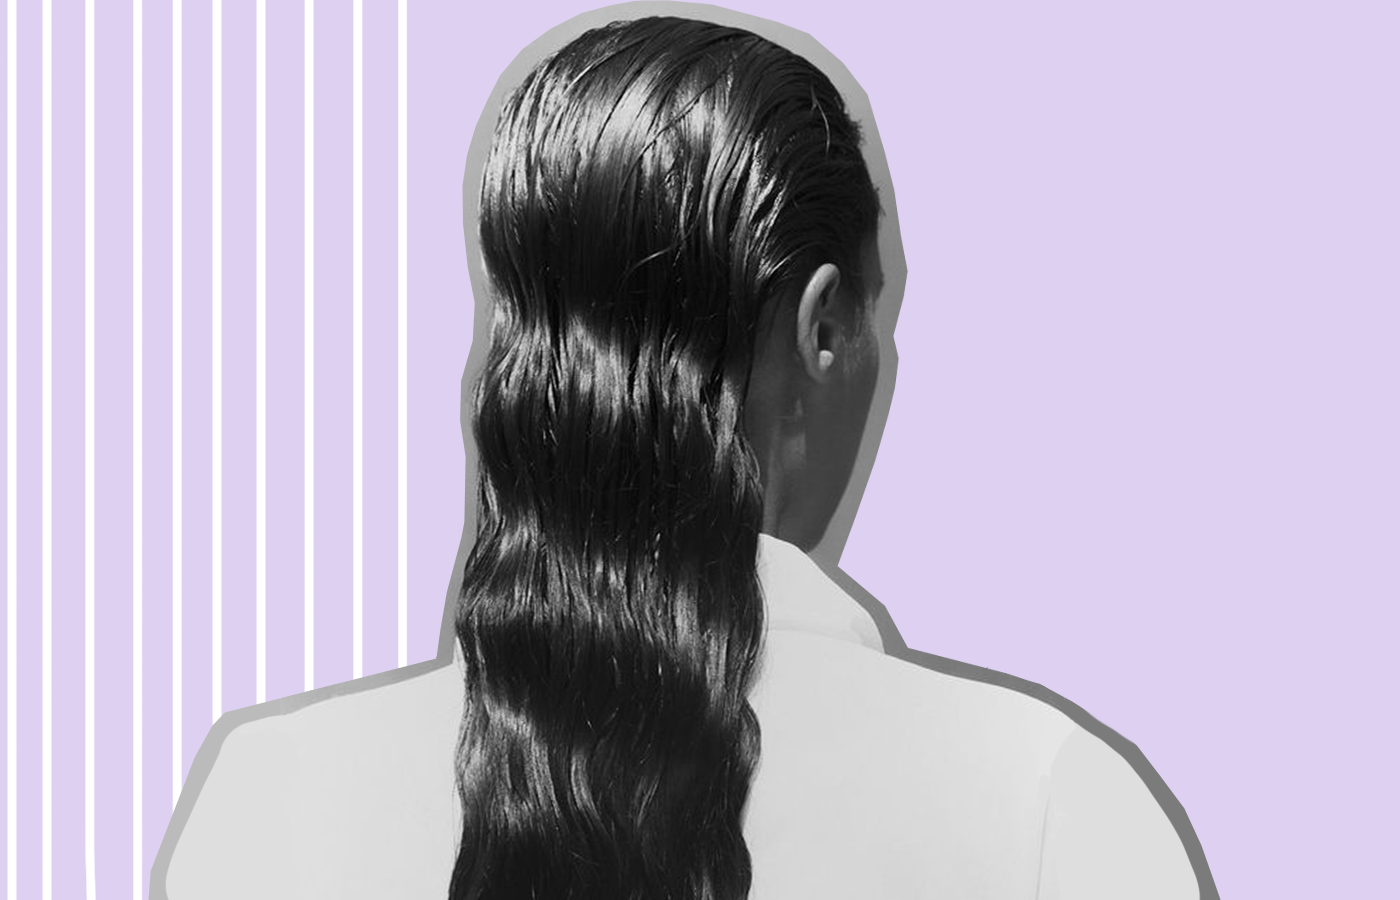
Here's Everything You Need to Know About Hair Breakage
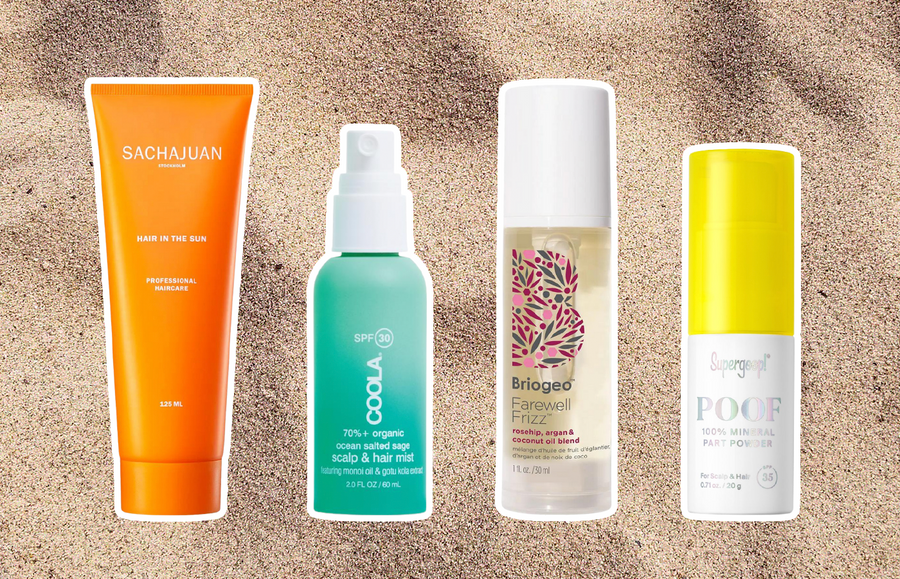
8 Products to Protect Hair From Sun Damage (And Other Summer Stress)
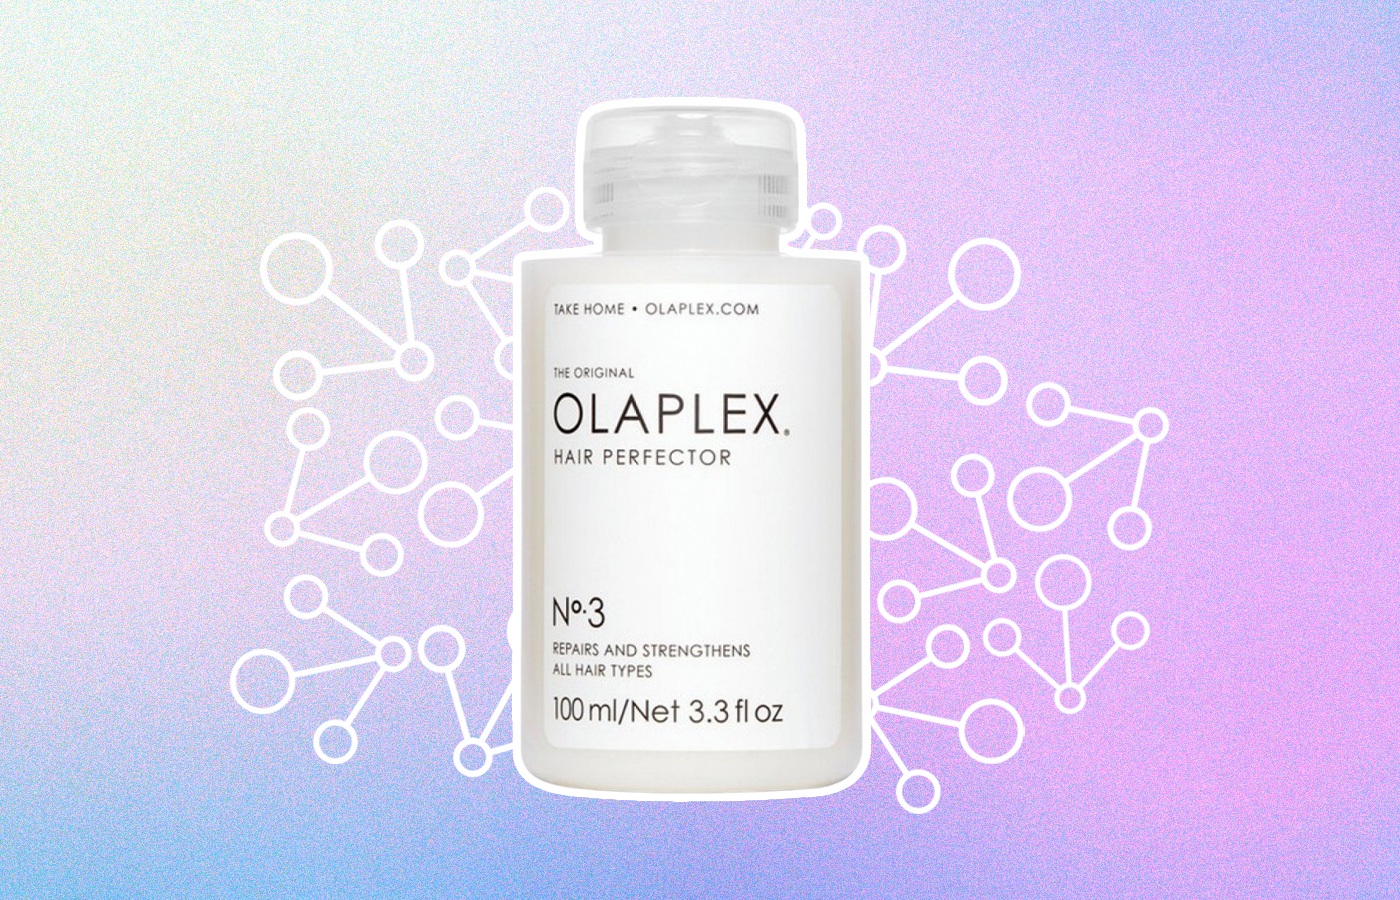
Why Bond Builders For Hair Are So Important

Blowout Bars: What They Are And Why They’re Amazing
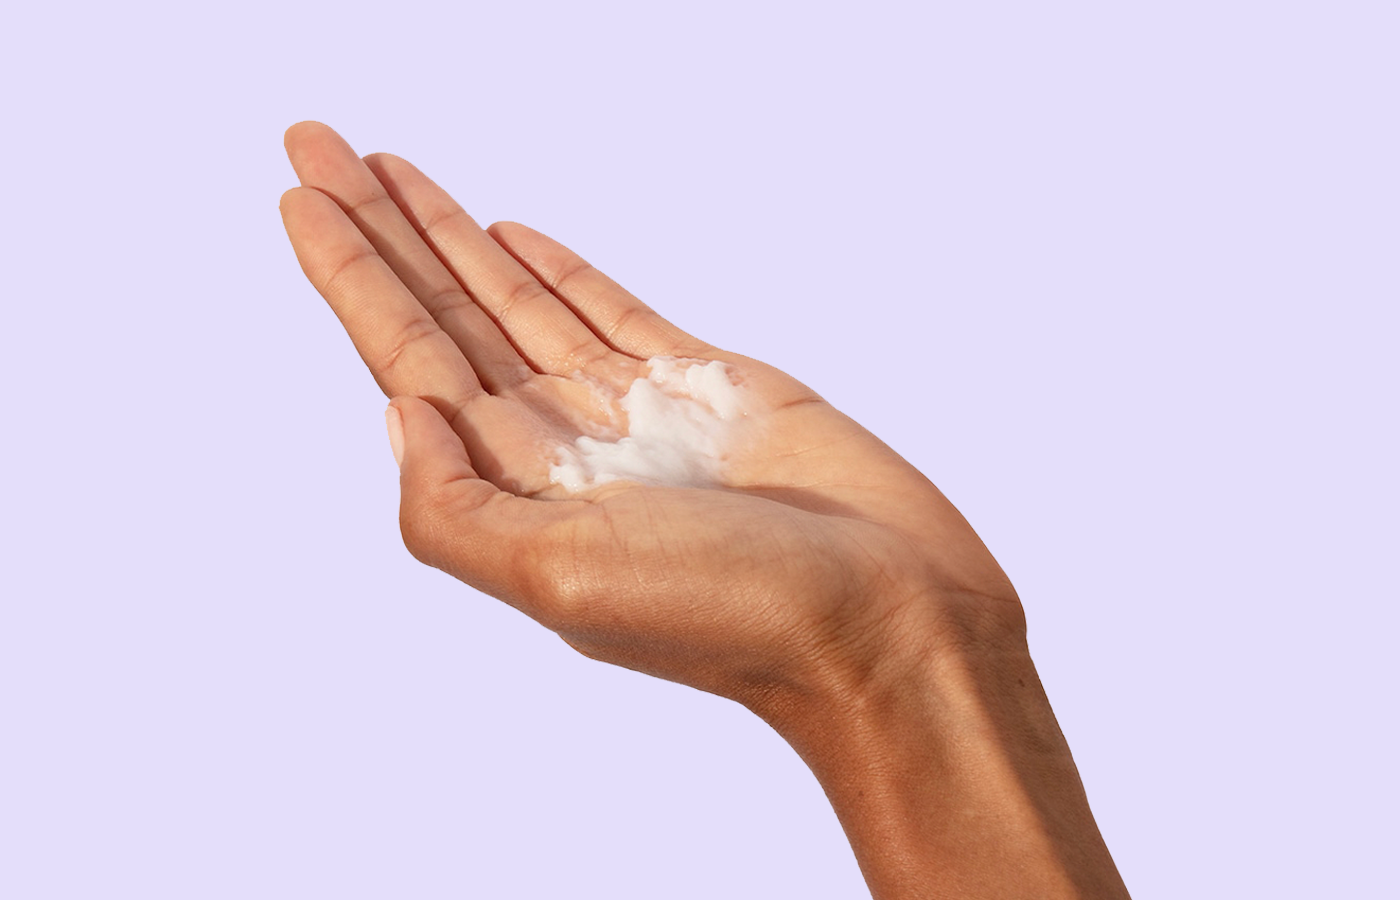
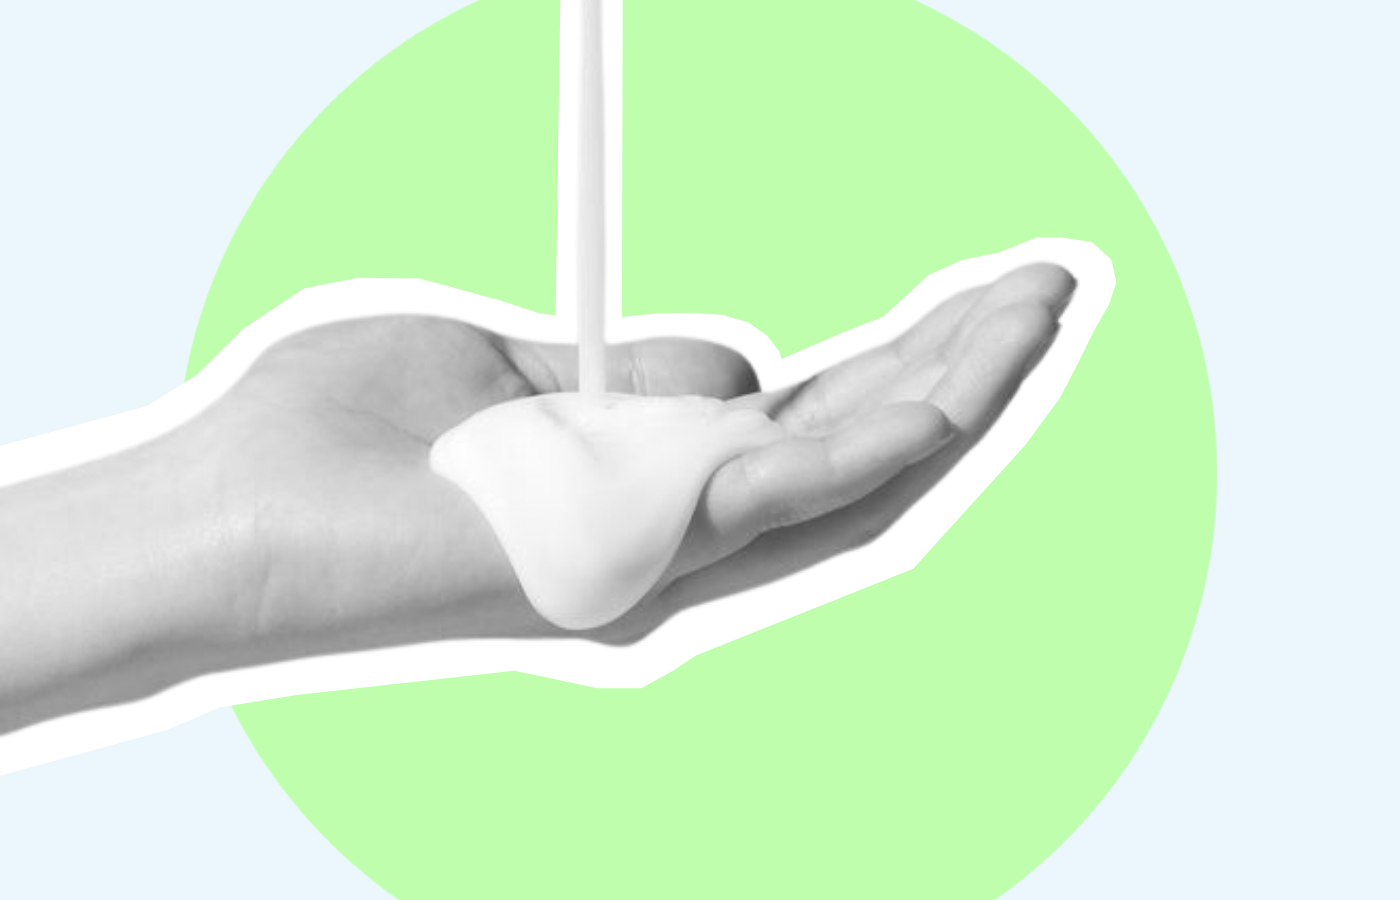
How to Use Leave-In Conditioner
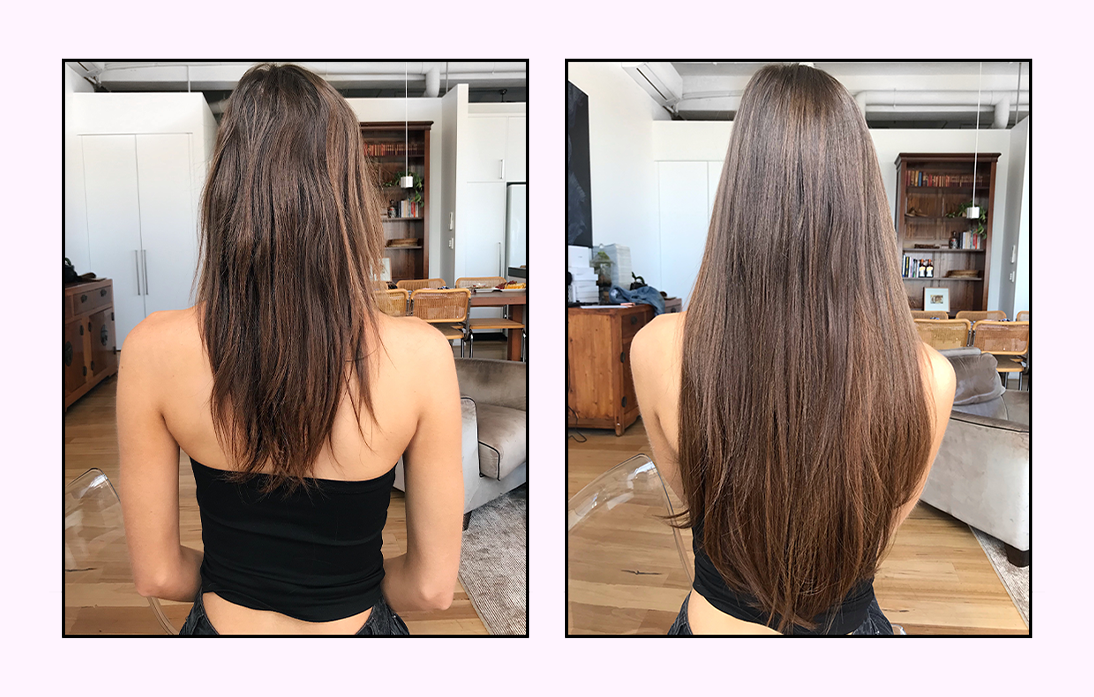
How to Make Thin Hair Look Thick
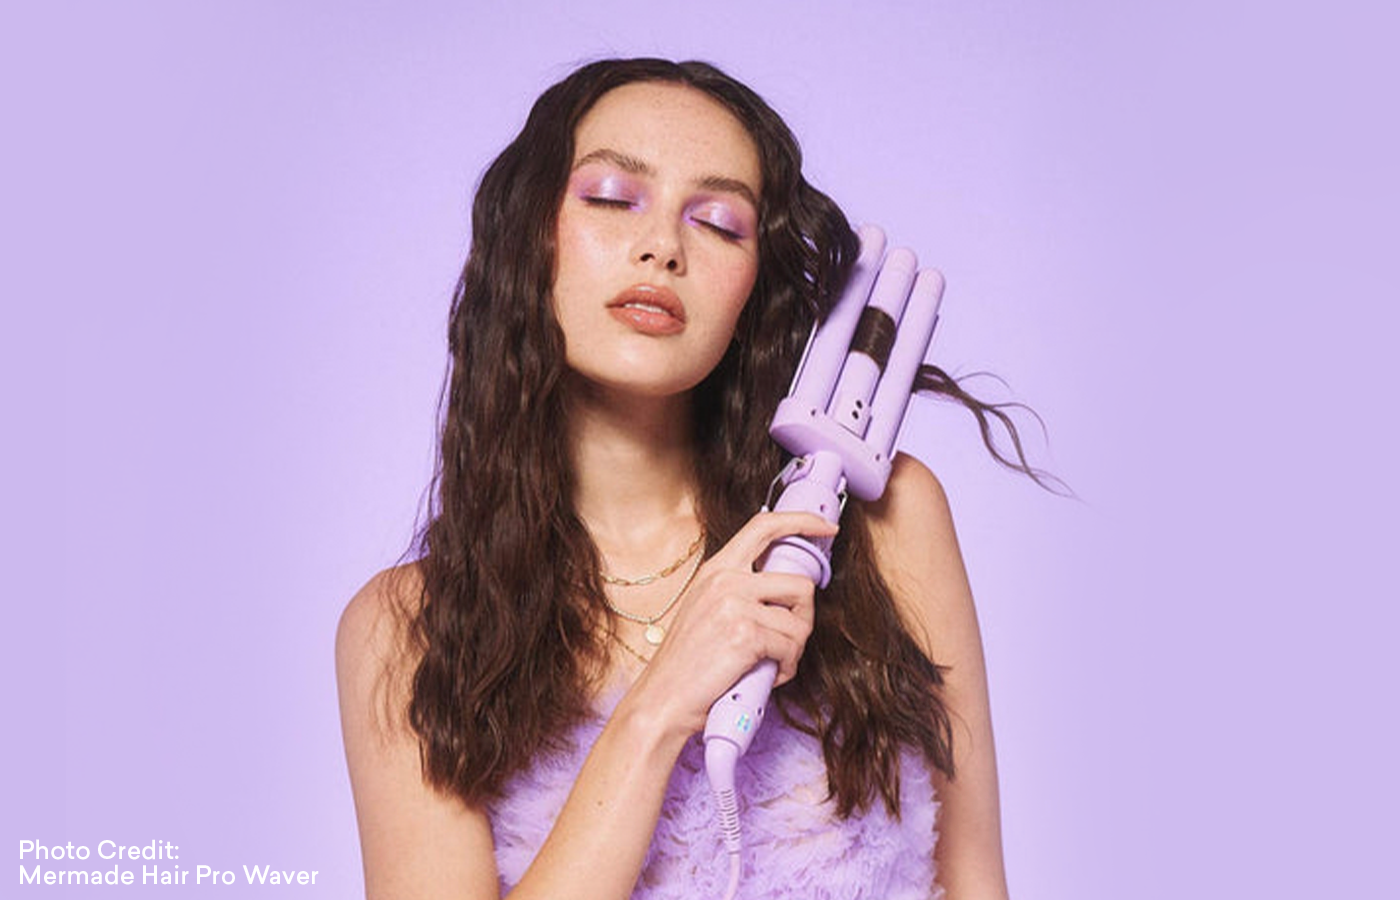
The Best Hair Styling Tools to Boost Your Daily Hair Routine
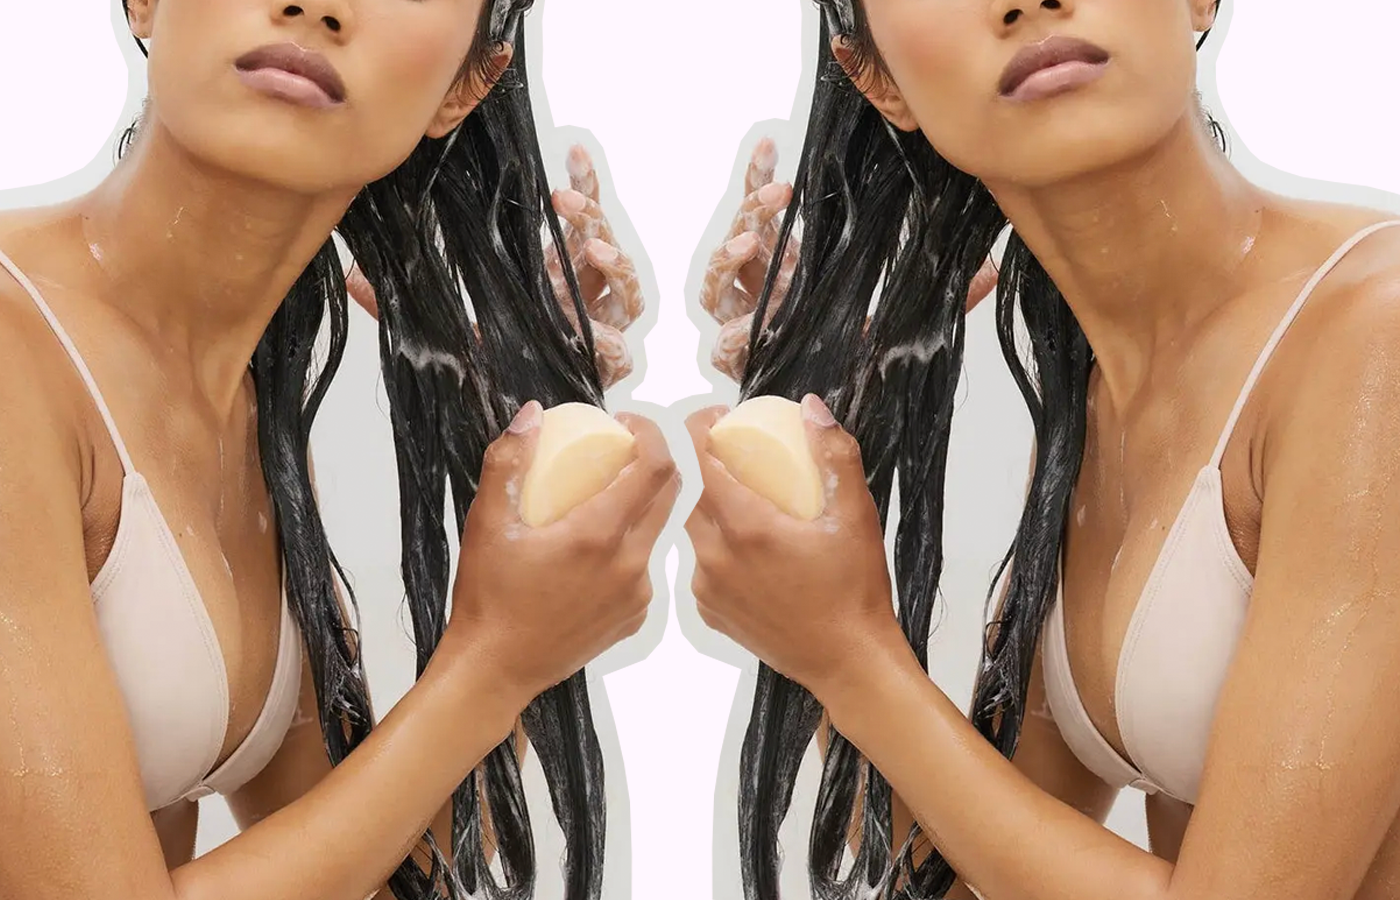
The Best Shampoo Bars For Every Hair Concern