Here at Sitting Pretty, we're big on low-maintenance beauty.
So when it comes to date night, we prefer to look good - faster.
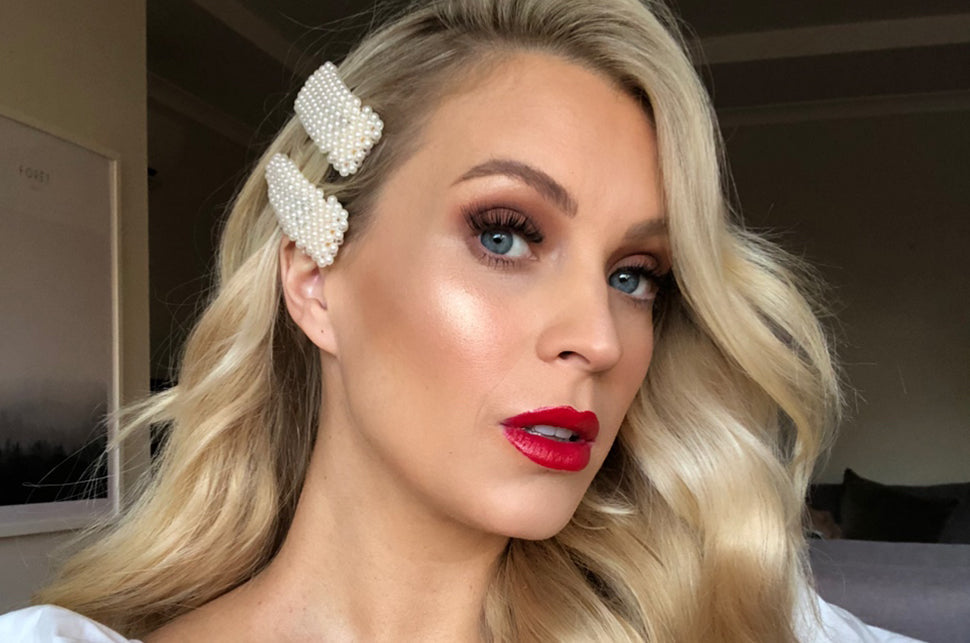
Here, hair and makeup artist Amelia Webb shows us her favourite date-night glam look in under 10 minutes.
THE MAKEUP
Getting glam with your makeup doesn't have to be about using a heavy coverage foundation, lots of highlighter and all the rest.
In fact, less is more when it comes to perfecting a glamorous makeup look.
If you've ever had your makeup done professionally you'd have noticed that the makeup artist surprisingly uses minimal quantities of product.
Their secret?
It's about starting small and building on more makeup until you get the desired look.
That way, there's no room for mistakes.
Most of the time you'll realise you didn't need as much product as you thought to get that perfect contour or flushed rosy cheeks.
When applying foundation, keep in mind it's just the beginning.
You'll be putting on a lot more products on top of your foundation.
So as tempting as it is to pack on a lot of foundation, try not to apply more foundation than necessary.
Again, when it comes to contouring and blush:
Always start by applying the minimal amount.
You can always add more, but once you go overboard with blush or bronzer, there's no going back.
Unless you wipe off your makeup and start again; but we all know that's an infuriating point to get to when you're getting ready for a night out.
Tips for date night makeup
- Use liquid products like liquid foundation, liquid highlighter and even liquid blush. They'll make you look more radiant, which is exactly how you'll want to feel when you're getting Tindy'er.
- Brush your brows and keep 'em looking as natural as possible. Eyebrow pencil is a blessing, but drawing on your eyebrows too much is a big NO. Natural, brushed eyebrows will look more youthful than an over-drawn brow.
- This one should be a given, but make sure your lipstick/gloss of choice is one that stays on. Nothing worse than smiling and having lipstick on your teeth. And with that note, a pocket mirror is always a must.
THE HAIR
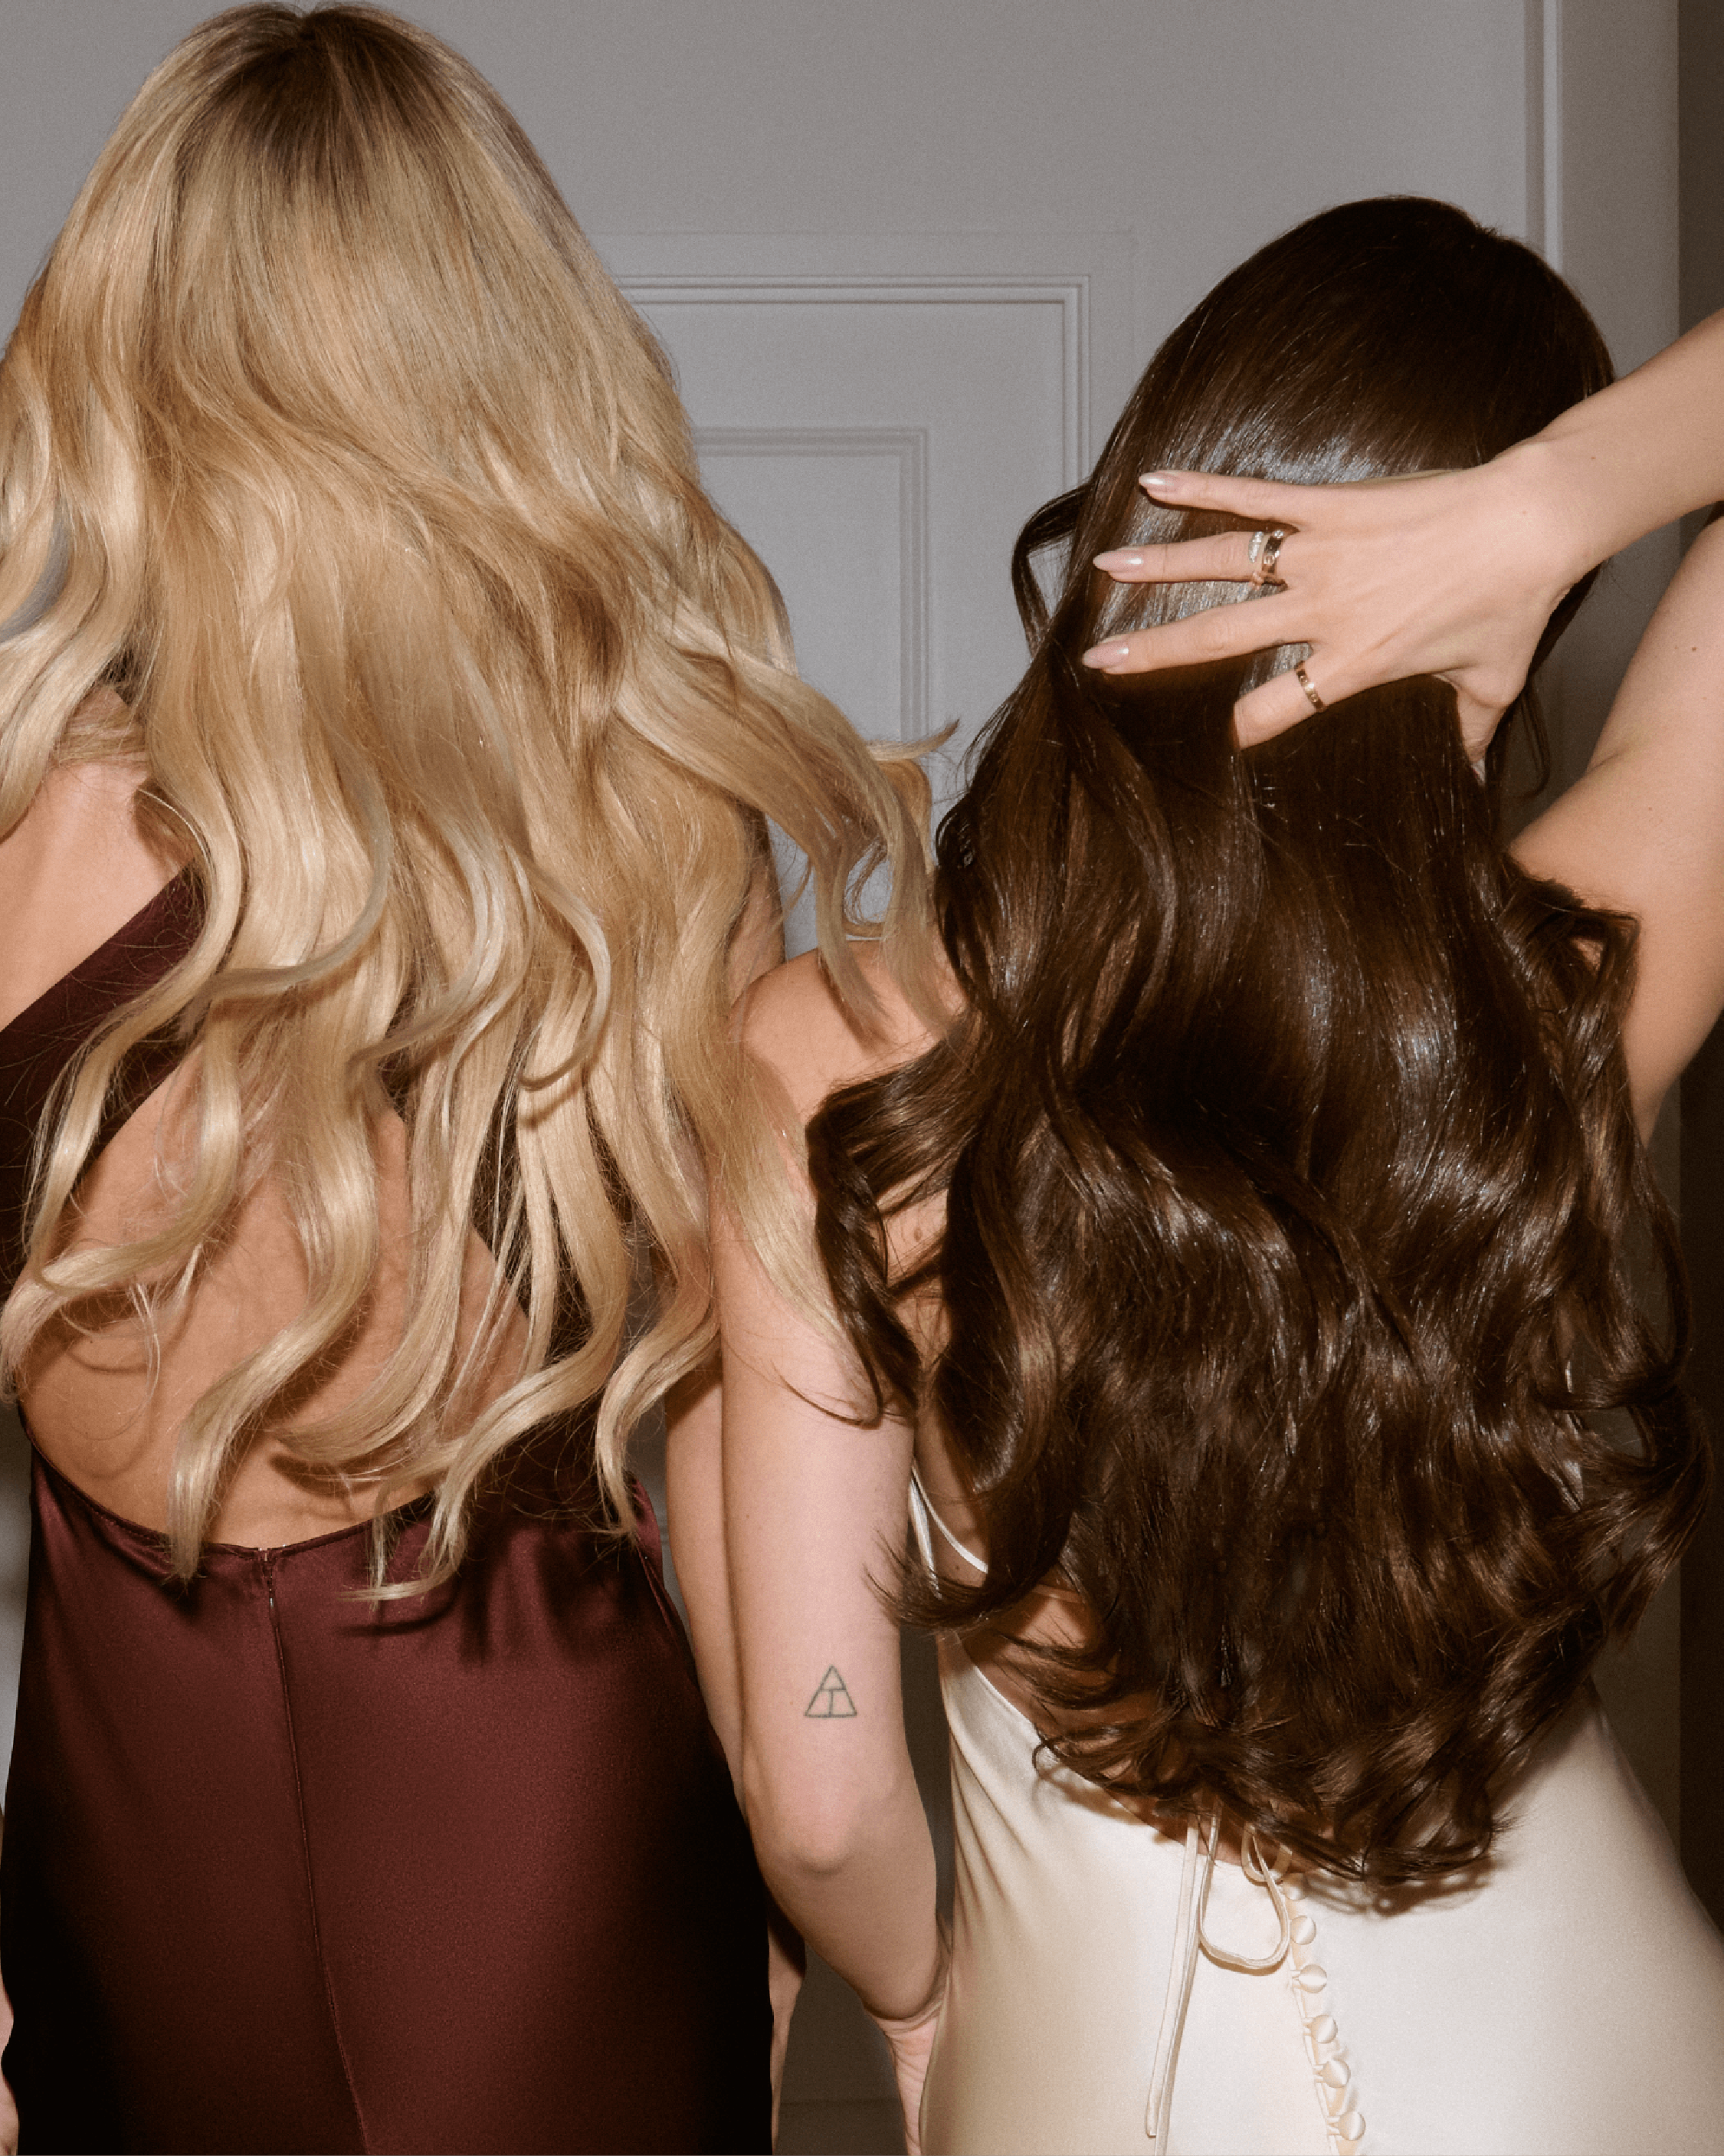
Amelia wears her THICK halo in col. Beige Blonde 613 to go from short hair to long hair.
If you're going glam with your makeup for date night, let your hair compliment your look.
For example:
Bronzy makeup looks great with soft waves;
and a cat-eye liquid eyeliner is smokin' with a voluminous ponytail.
Whatever 'do you go for, you don't want to spend 2 hours doing your hair.
Which is why there are a few things you'll need to get your glam hair done under 10 min.
Tips for date night hair
- TEXTURE SPRAY. It'll hold everything in place without making your hair stiff like hair spray and helps you get more volume. Even better, opt for a thermal texture spray so it protects your hair from heat styling too.
- HALO HAIR EXTENSIONS. Now, this is where a lot of time is saved. The Sitting Pretty Halo takes 30 seconds to put in, and will likely save you an hour of styling your own hair and applying products to make your hair look thicker and stay in place. Learn more about the halo here
- If you have minimal time to do your hair, put your curler or straightener on the highest heat so you can style faster.
Watch below to see how Amelia gets herself glam'ed for date night.
Subscribe to our YouTube channel here to see our latest hair styling tutorials.
GLAM DATE NIGHT HAIR & MAKEUP TUTORIAL // AMELIA WEBB
[Transcript]
Hi guys and welcome to the Sitting Pretty YouTube channel.
I'm Amelia Webb and I have created this really fun date night hair and makeup look.
So I have done a hair tutorial and a makeup tutorial for you guys to check out so please keep on watching and I hope that you guys enjoyed this look.
I'm going to mix two different shades of foundations.
I'm going in with the Born This Way and the NARS sheer glow and I'm just going to pop that on with a little buffing brush all over my skin.
Once the foundation is on, I just added a little bit of my brow pencil.
I'm just gonna now brush those brows up because I like the bushy brows at the moment - I just think that they look so much more natural and so much more, I think just nicer being a little bit bushier than like really defined.
I'm going to do a really subtle smokey eye and I'm actually going in with my own morphe palette and I'm just going to pick up this shade here and just use that as my transition colour.
Just adding a shade like a terracotta browny shade to the lid just because I think that would tie in with my lip colour really well.
Now for some blush, we're going to use this Stila and it's actually a cream blush.
So we're going to pop that on the skin, of course we need some highlighter so we're going to go in with the Urban Decay and I'm going to use a buffing brush.
I wanted to do a red lip for this look so we are going in with a red lip.
Now for the fun part, adding in the halo which is the thick halo.
I get a lot of questions about this one.
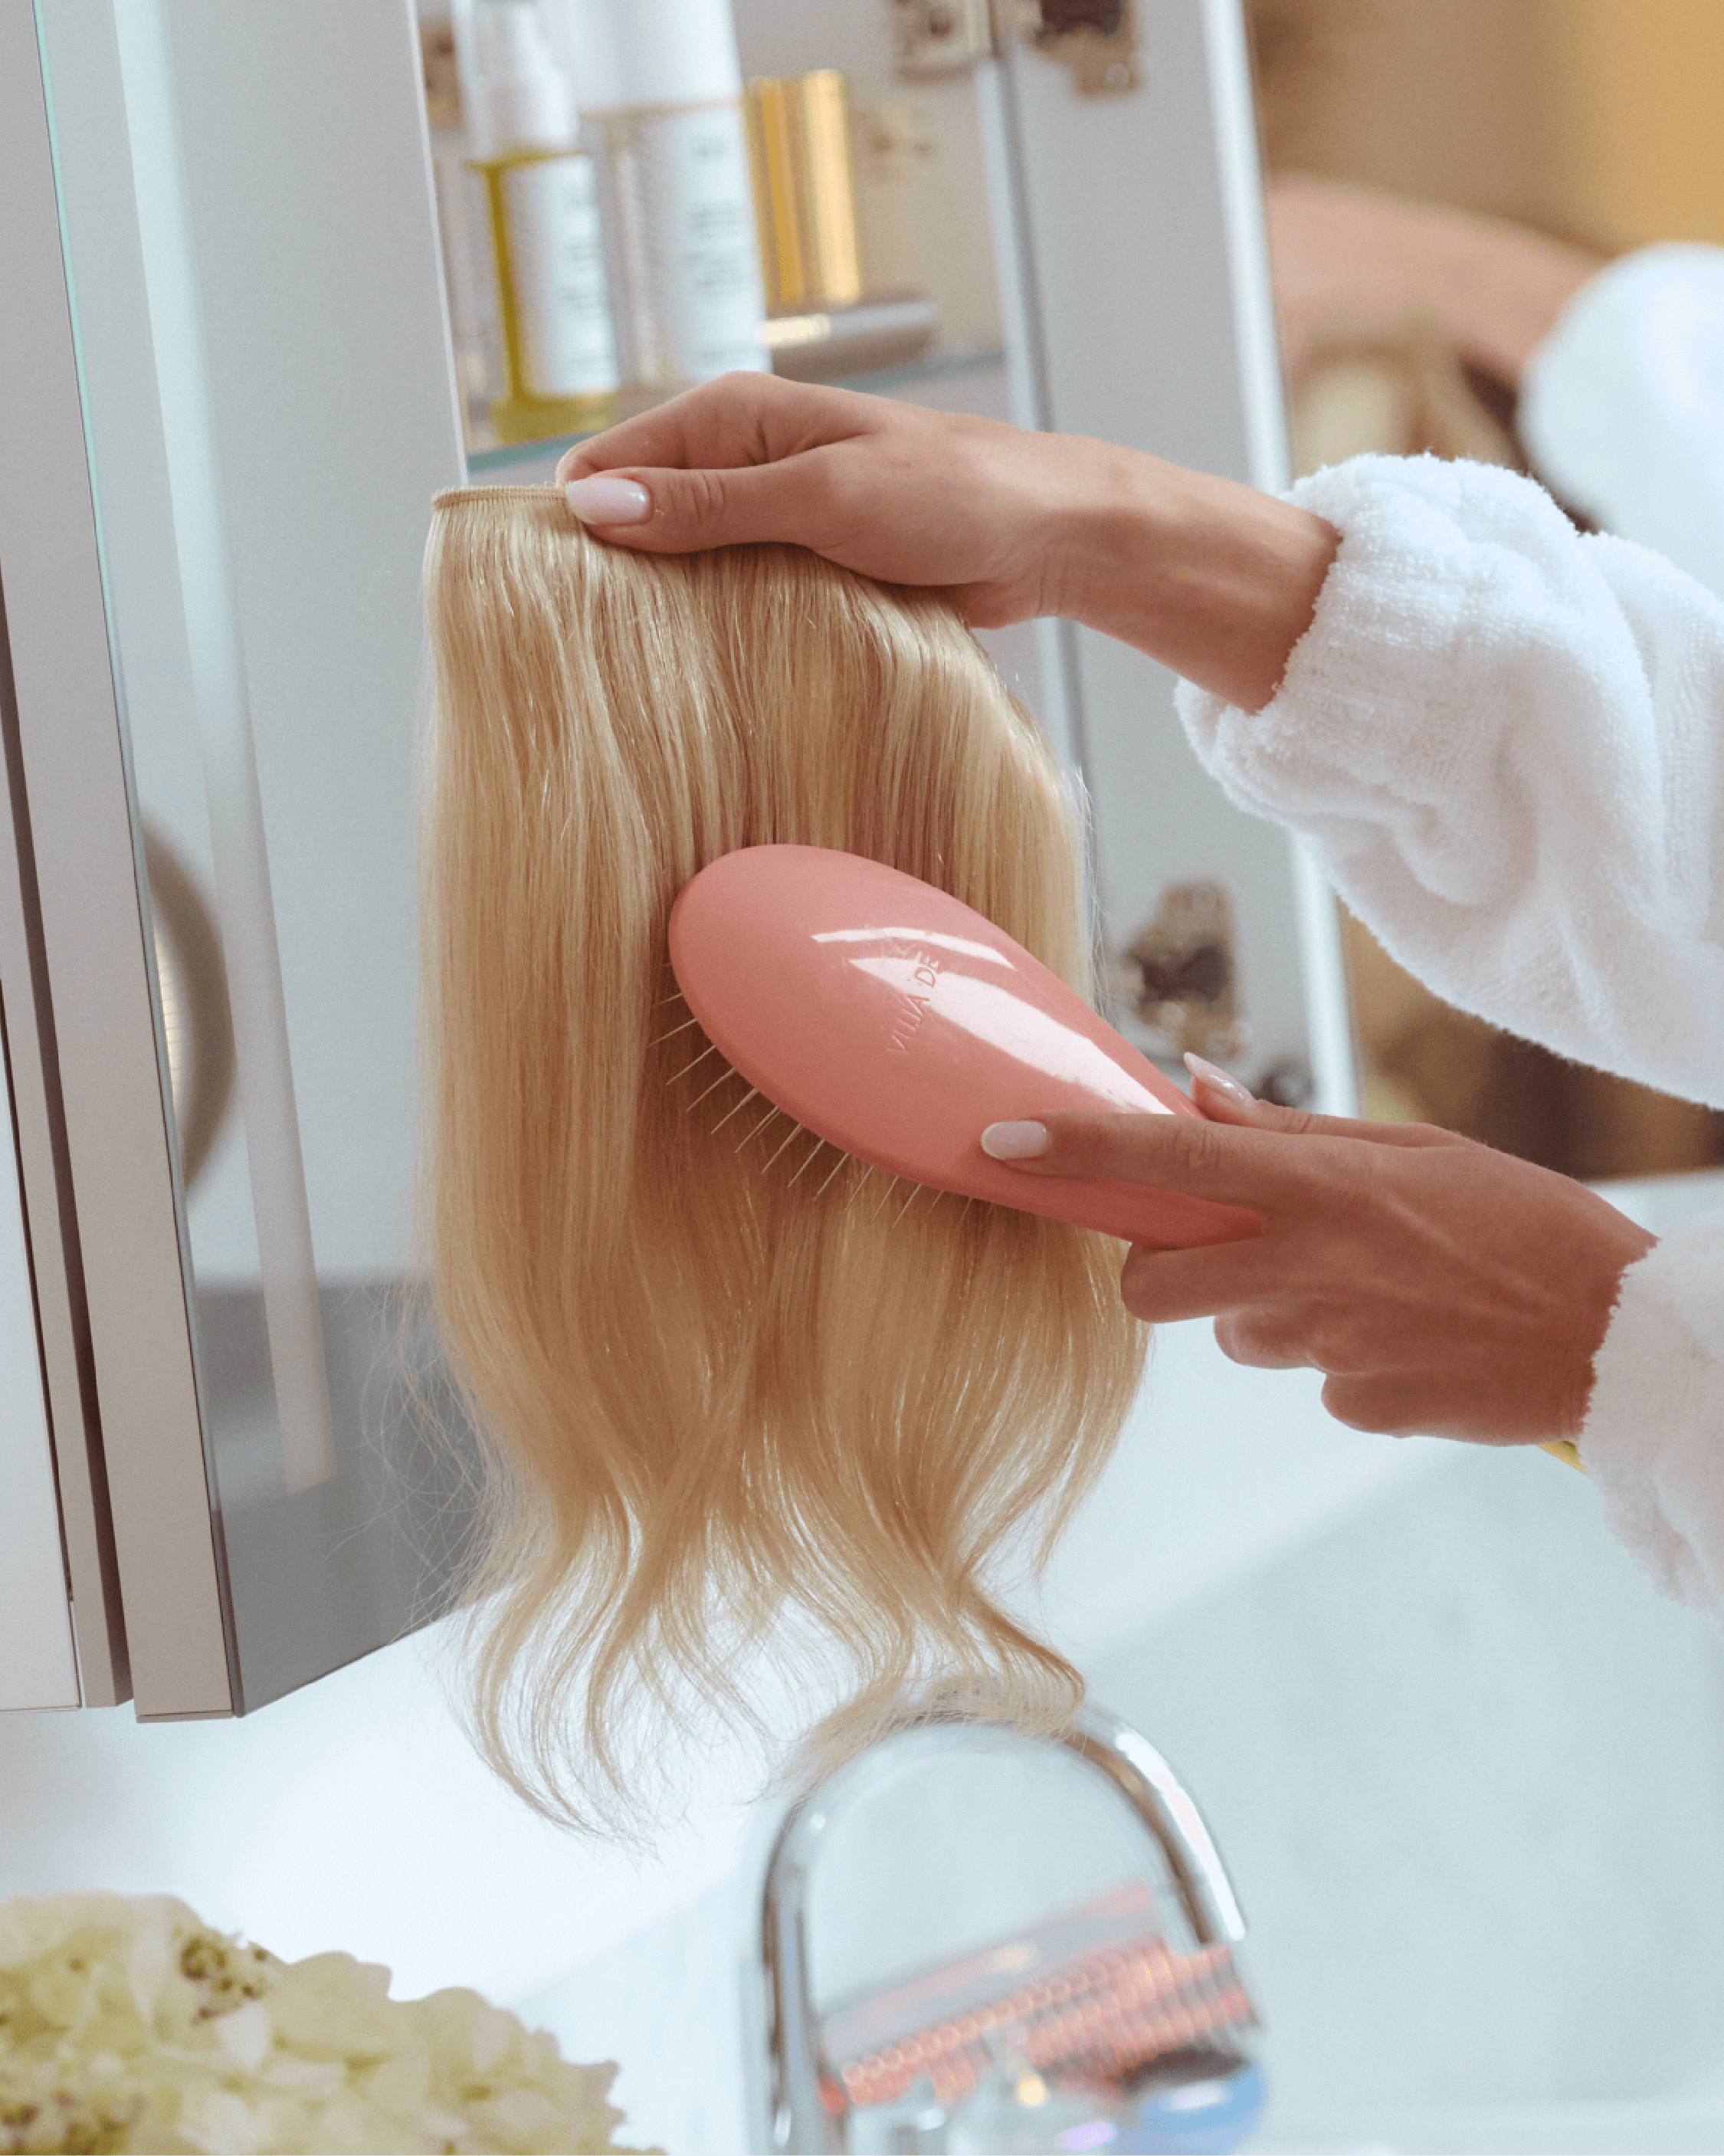
When you actually receive it, it is always best to wash it first because it actually gets a lot thicker once you wash the halo.
so I've actually just washed this and I've also just curled this while it's been on the coat hanger.
It's a little bit hard to show you guys now because I can't actually pop it on something, but what I've done is I've literally just hung it up and then I've curled the halo.
It also obviously comes with the string so this is for reshaping.
So everyone's head shape is really different, so what you can actually do is it's got these little different wire sizes through here and you can take the wire that suits your head shape and thread it through.
So I've just popped that on already and I'm going to pop it around and place it on my head.
As you can see it just sits just nicely right underneath that bone bit there and then I just pull my hair out.
A lot of you guys are asking me especially since I've cut my hair short - does it still blend?
Yes it definitely still blends.
I've done a few little videos on blending the short halo with the long one so when it's really short like this I don't take as much hair out from the top.
So I'm just going to take a little tiny bit and then just get my tangle teezer and just brush that out.
I'm just going to take these earrings out because it's going to be quite difficult to show you the next bit, but as you can see; you can see all my hair underneath here.
I tie that bit of hair down here in a ponytail underneath, so I'm just going to grab all that and I literally do it in like a really tight ponytail just at the back which is covered by the halo hair.
So all that hair has been tied back so now you can't see it.
So what I've done now is I've literally just got my part and I put it to the side because I'm gonna pop in some clips.
So I'm having an obsession with clips at the moment as you guys know so I'm gonna pop them in this side here and I think I'm gonna do two.
I'm just gonna pop that one in and then I'm just gonna pop another one in here as well.
So these ones are actually from Coco May - I feel like that just adds a really nice bit of difference.
I do tend to go back over again if I find that I need to blend my hair in with the halo so I just get my wand and I literally blend that back in and then kind of like zshoosh it out.
And that there guys is the finished hair and makeup look!
Thank you guys so much for watching, I hope you have enjoyed this little tutorial and get ready with me for my date night.
So please like and subscribe to the Sitting Pretty Youtube channel because they bring you some really awesome tutorials and I hope you guys have enjoyed watching this one.
I have absolutely loved this look so thank you for watching.
If you want more hairstyling tutorials, grab the popcorn and click here.
Read next:
Read more
Whether you’ve been planning your wedding guestlist all year or you’re just days post-engagement (congrats!), I’m sure you’ve been deep in the bride hairstyle Pinterest boards. And the options are ...
How often you need to wash your hair depends on your hair type. Fine hair, curly hair, dry hair, oily hair, regular hair all have to be treated differently as the hair follicles are completely di...
