Halo hair extensions are so easy to put on, feel weightless, and make you instantly look glam in just a few minutes.
But without seamlessly blending them in with your natural hair, you'll get more "what-extensions-is-she-wearing" questions instead of "her-hair-looks-so-good" comments.
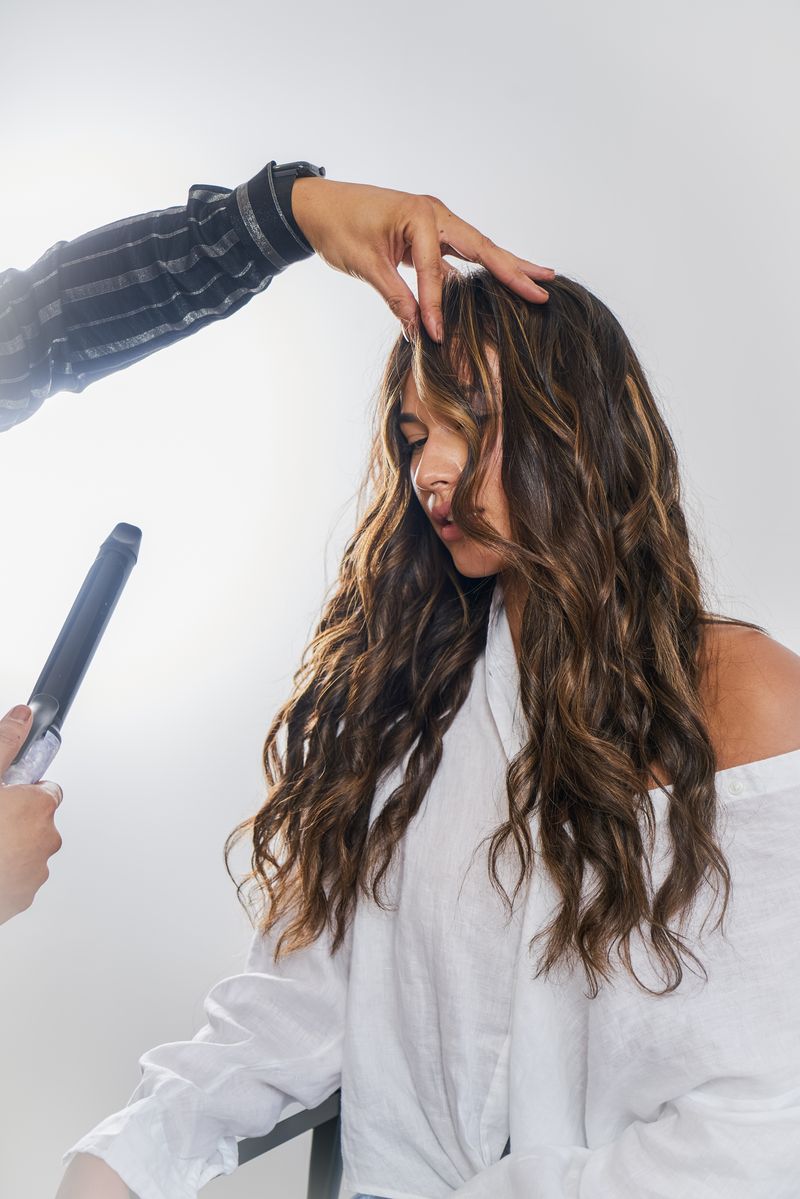
The secret to getting seamless hair extension styles is using a hot tool. You can use any curling iron, wave maker, or straightening iron you have—our favourites are from Boujee Beauty Hot Tools, GHD, and Mermade.
So, check out all our halo hair extensions blending tips to get the most out of your new voluminous and healthy hair.
Preparing Your Hair and Halo Extensions
Prepping your halo for endless hairstyles is a piece of cake. All you have to do is follow these steps:
- Wash and condition your hair as you normally would. You don't have to have clean hair to wear hair extensions, but we think it's nice for a freshly washed scalped to wear freshly washed hair extensions.
- Apply a heat protectant spray to your hair. Since you'll be using heat, you'll want to keep your strands shielded from high temperatures as much as possible.
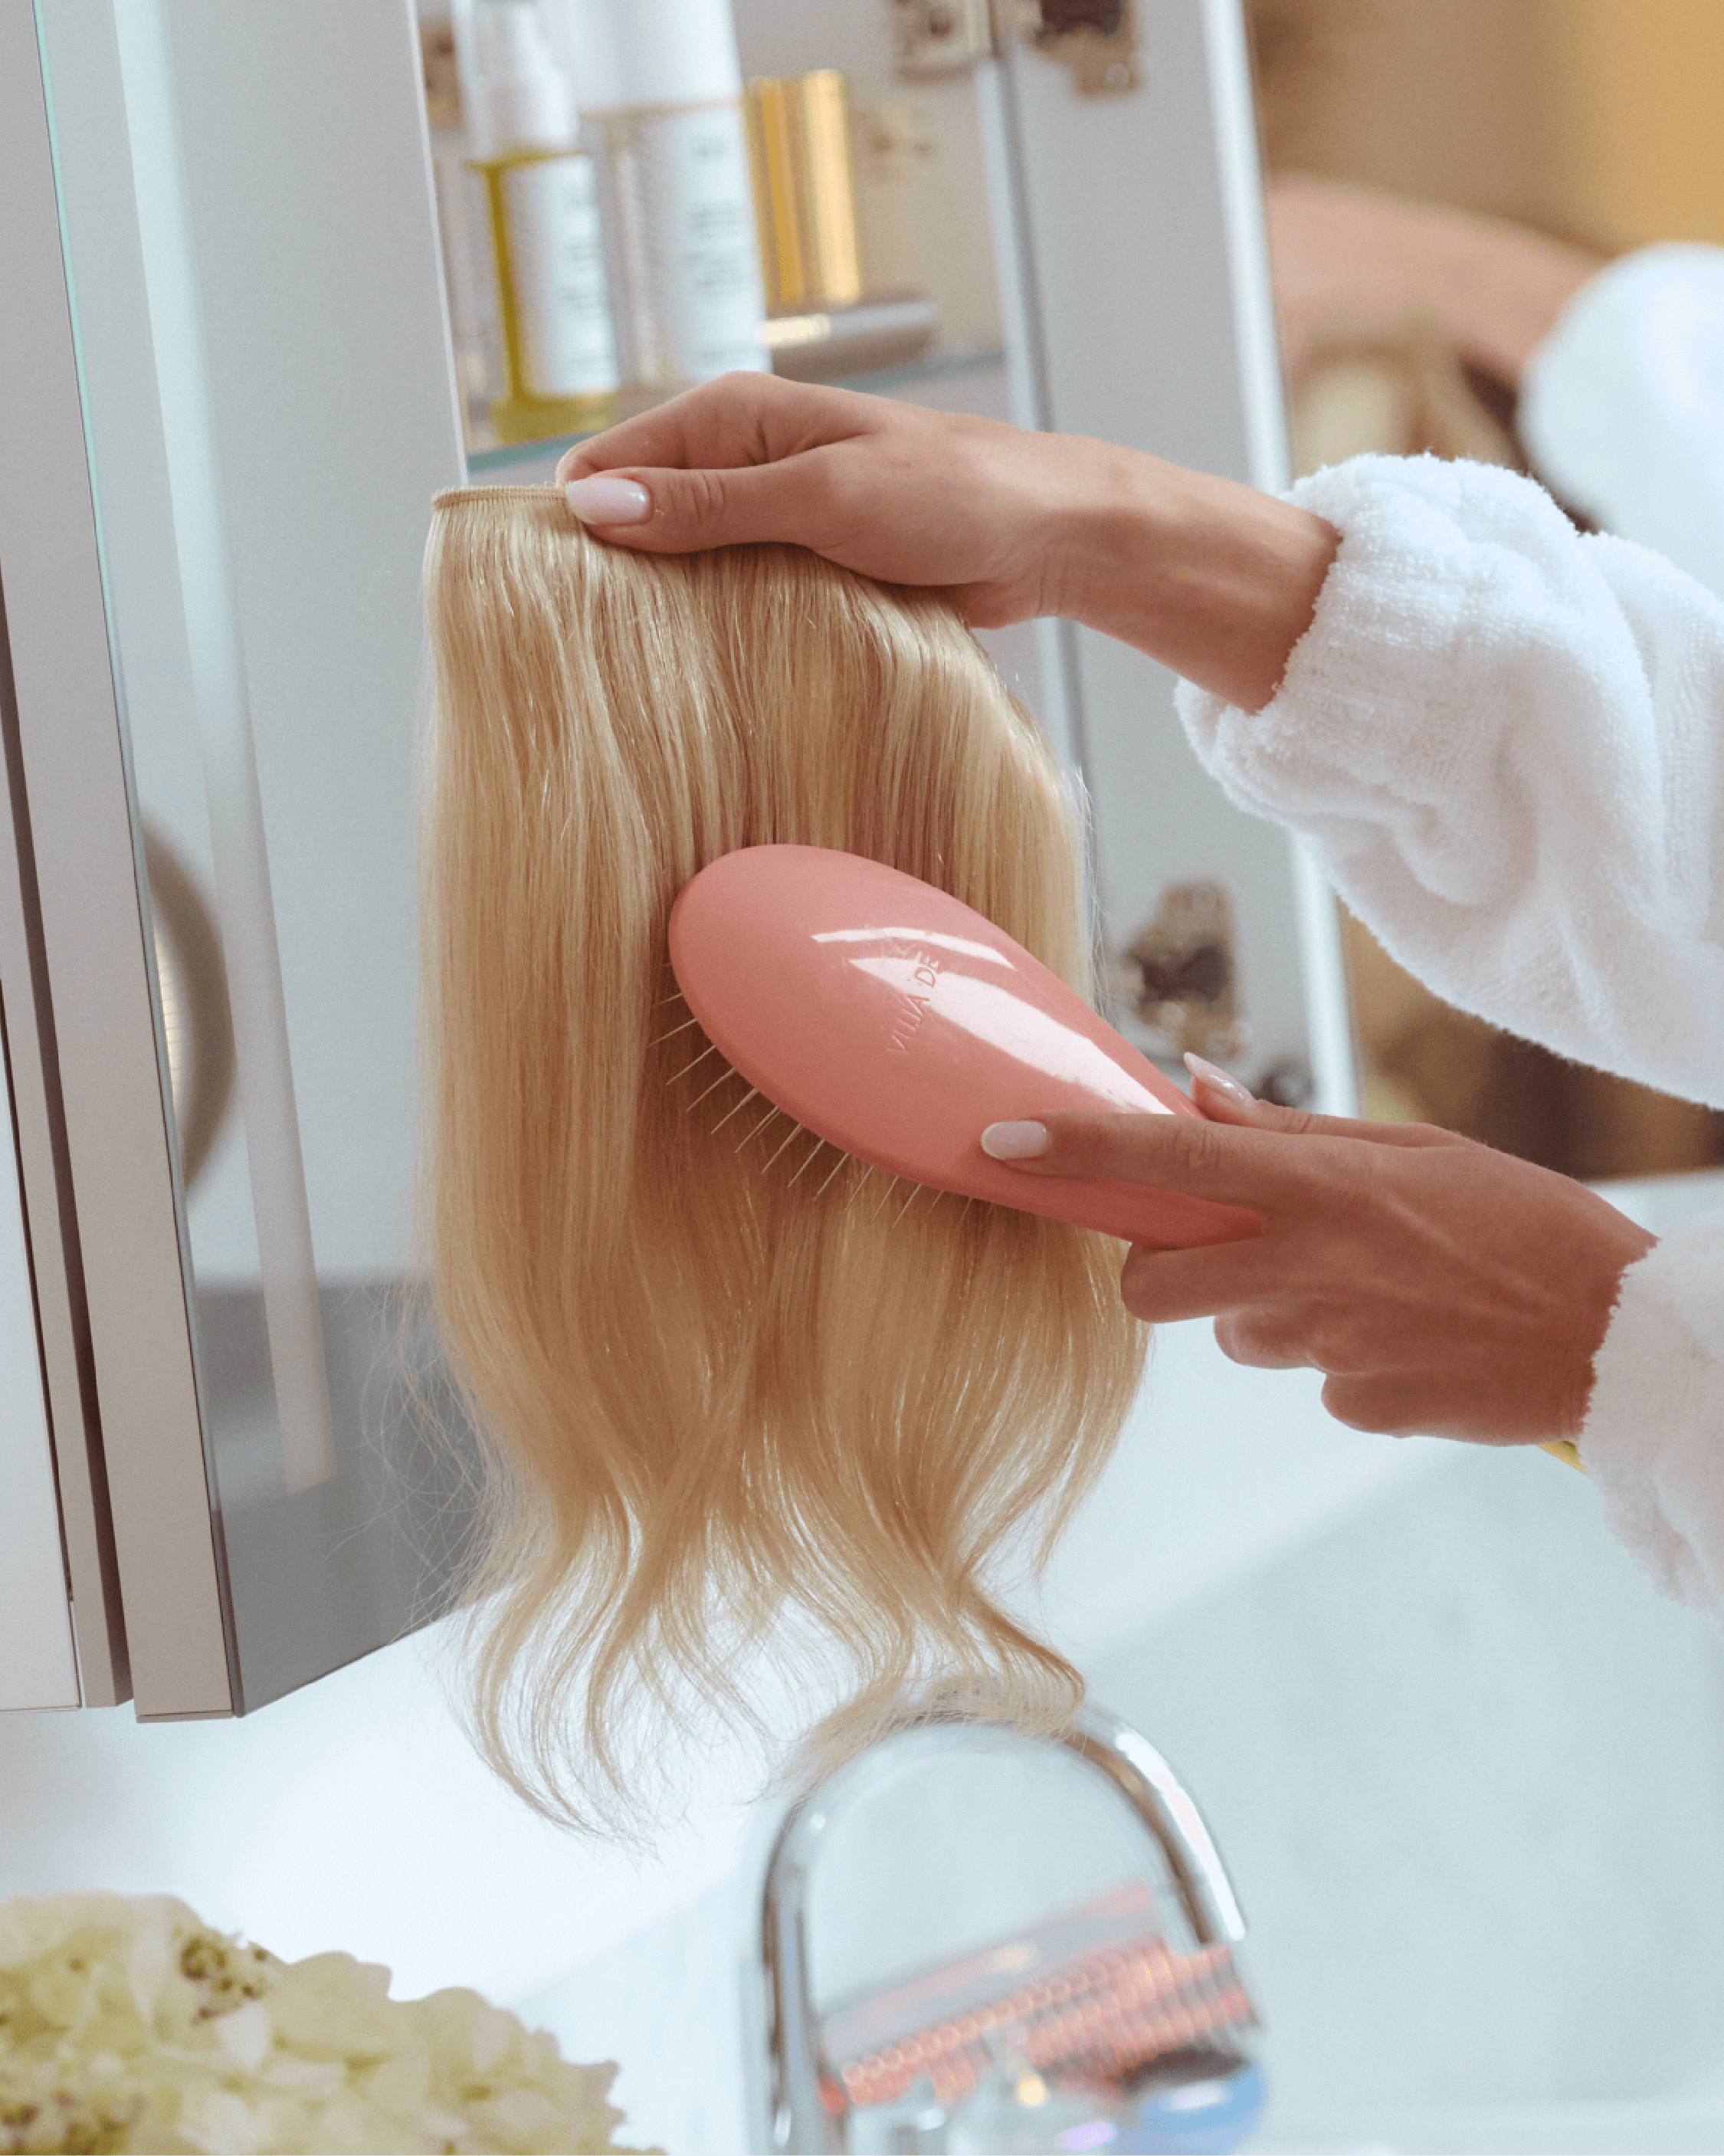
- Now, for The Halo! Fresh out of the box, your extensions have already been chemically straightened. Wash it in the shower, but don't put any shampoo on it. Just get it wet and let it dry overnight or blowdry it. Once it's dry, you'll notice it looks instantly thicker.
- Like your natural hair, your halo needs protection to prevent damage, too. So, mist it with heat protectant. Without it, it could deteriorate the coating on your hair extensions and shorten its lifespan.
Read Next: How to Revive Dead Hair With These 6 Tips
Blending Your Halo Extensions
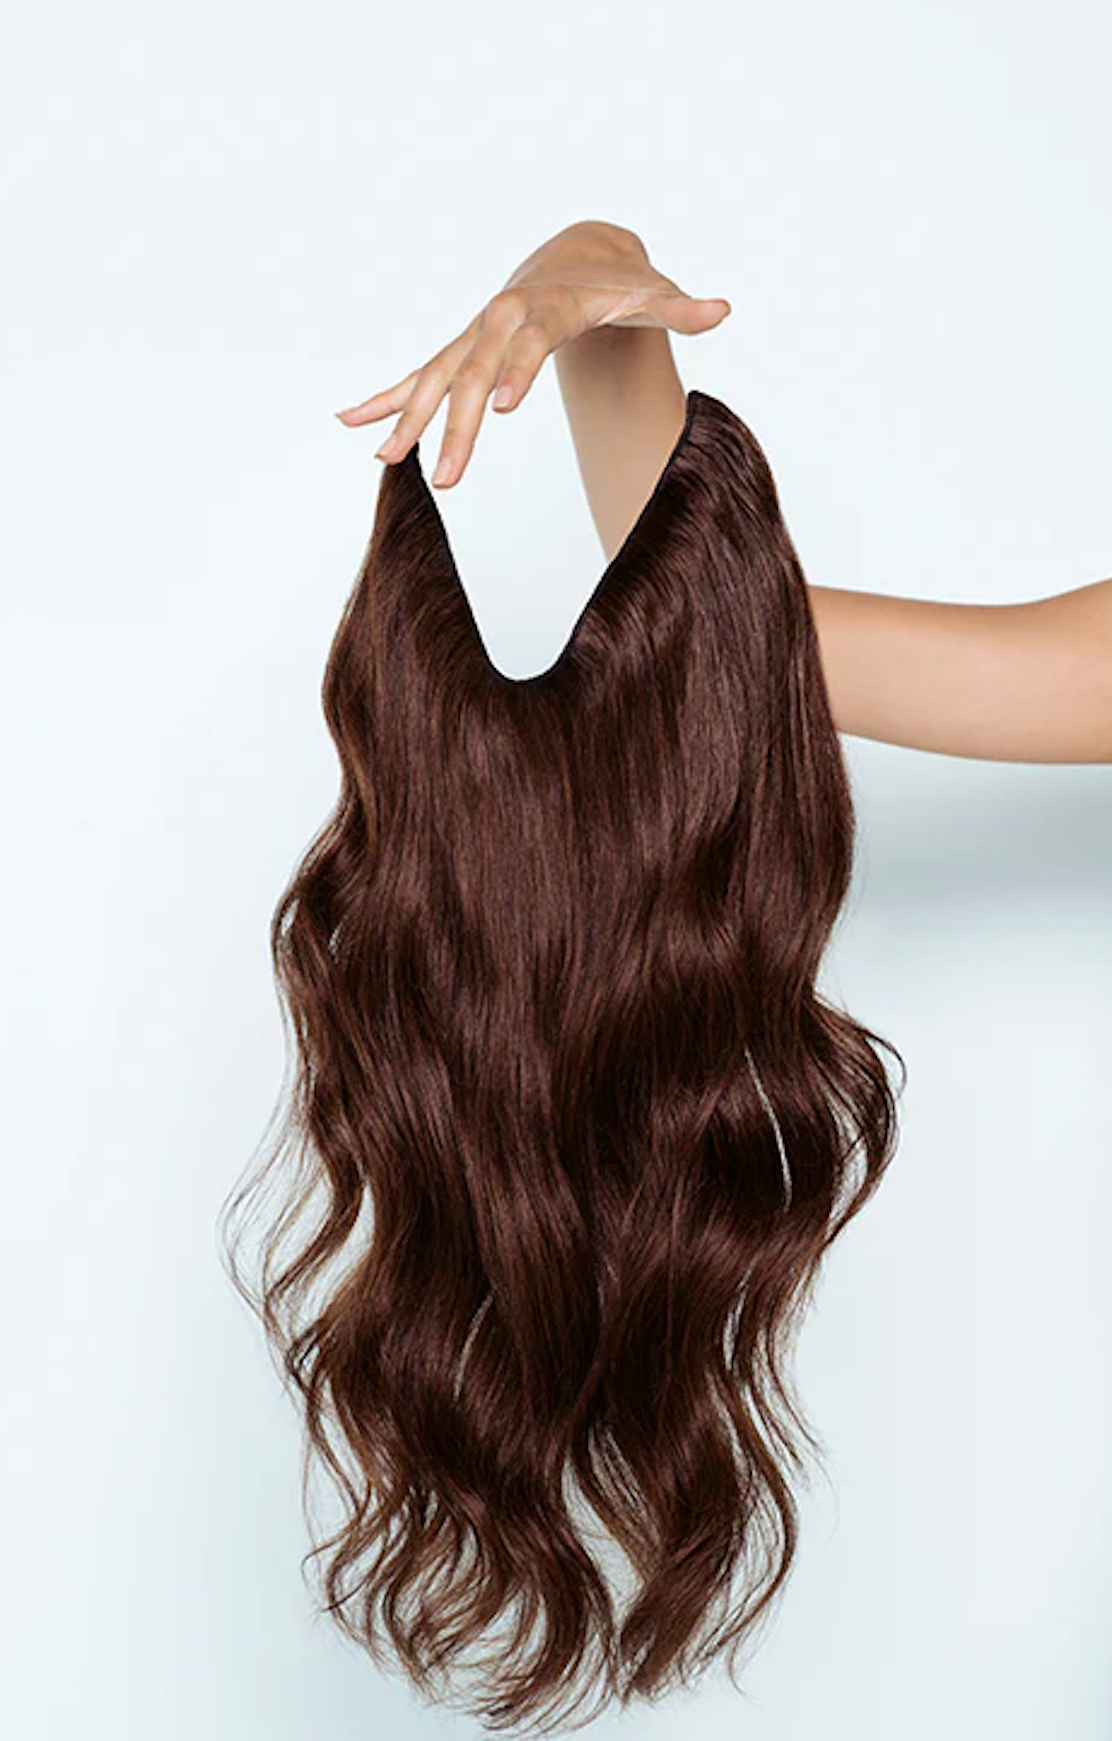
One of the things we love (and we're sure you will, too) about The Halo is how quick and easy it is to put on. It comes with an invisible wire that you place on the crown of your head. Here's how:
- First, tie the top section of your hair into a top knot.
- Place The Halo on your head. The wire should be an inch back from your forehead, with the weft sitting firmly below your occipital bone. No tapes, clips, or glue needed!
- Next, take your top knot down and comb out any pieces of hair to completely cover the wire. Brush it through to the ends of your hair to blend it in.
Now that you've got The Halo on, these are the best tips we've found to make it look seamlessly blended.
Get the right colour
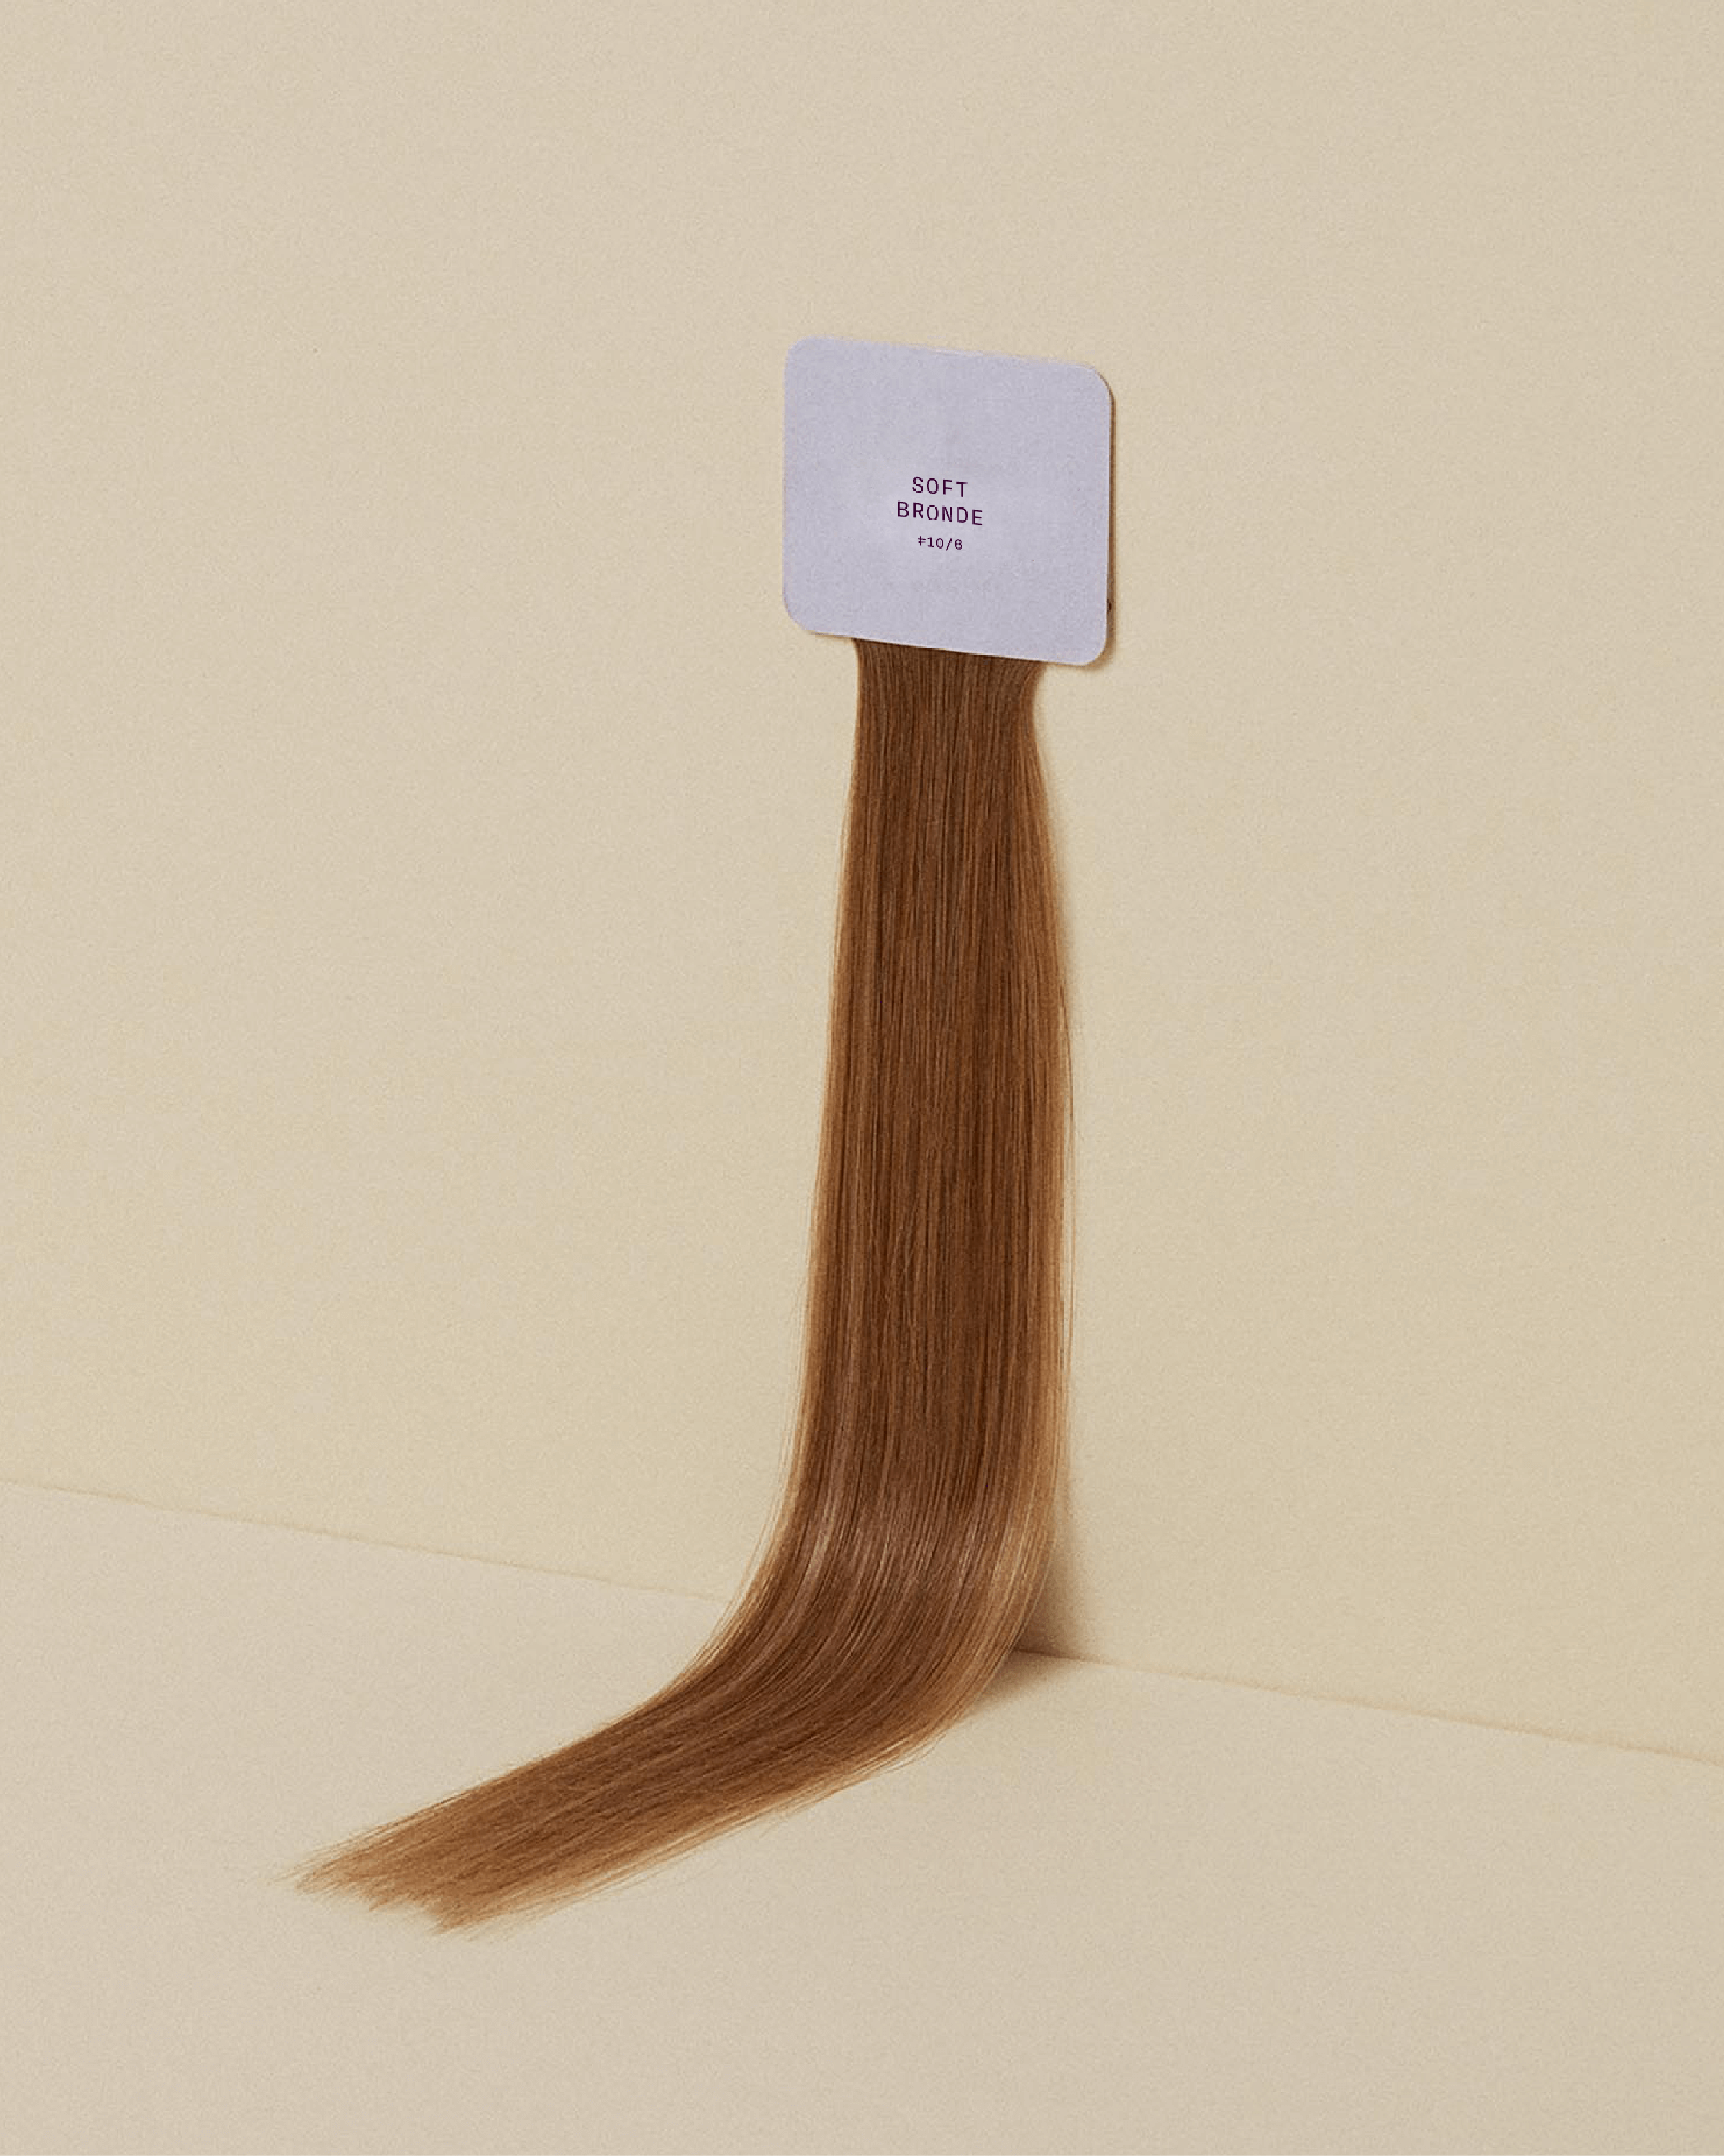
When it comes to halo extensions, check your hair under different lights to see which shade will work best for you. We've got a free colourmatch, but when in doubt, go lighter. It's easier to tone halo hair extensions darker because you can't bleach them.
Choose the right thickness
The Halo comes in three thicknesses: Fine, Medium, and Thick. Fine is for daily use and can be worn the same length as your natural mane. Medium gives you a bit more volume and length. Thick is for those who want a whole lot of volume and length.
It's important to choose the right thickness for your hair, specifically, so there's no disconnect between your strands and The Halo.
Taper the ends of your hair
Having hair with blunt ends will make blending halo extensions harder as there'll be an obvious disconnect. To get a smoother transition, get some face-framing layers and have your hairstylist feather out the ends.
Give The Halo layers
Layers are everything to ensure a smooth transition between your hair and halo hair extensions. For Fine Halos, you can trim it to about the same length as your hair and it'll look really natural.
But for Medium and Thick Halos, layers allow them seamlessly blend with your hair.
Add waves or curls
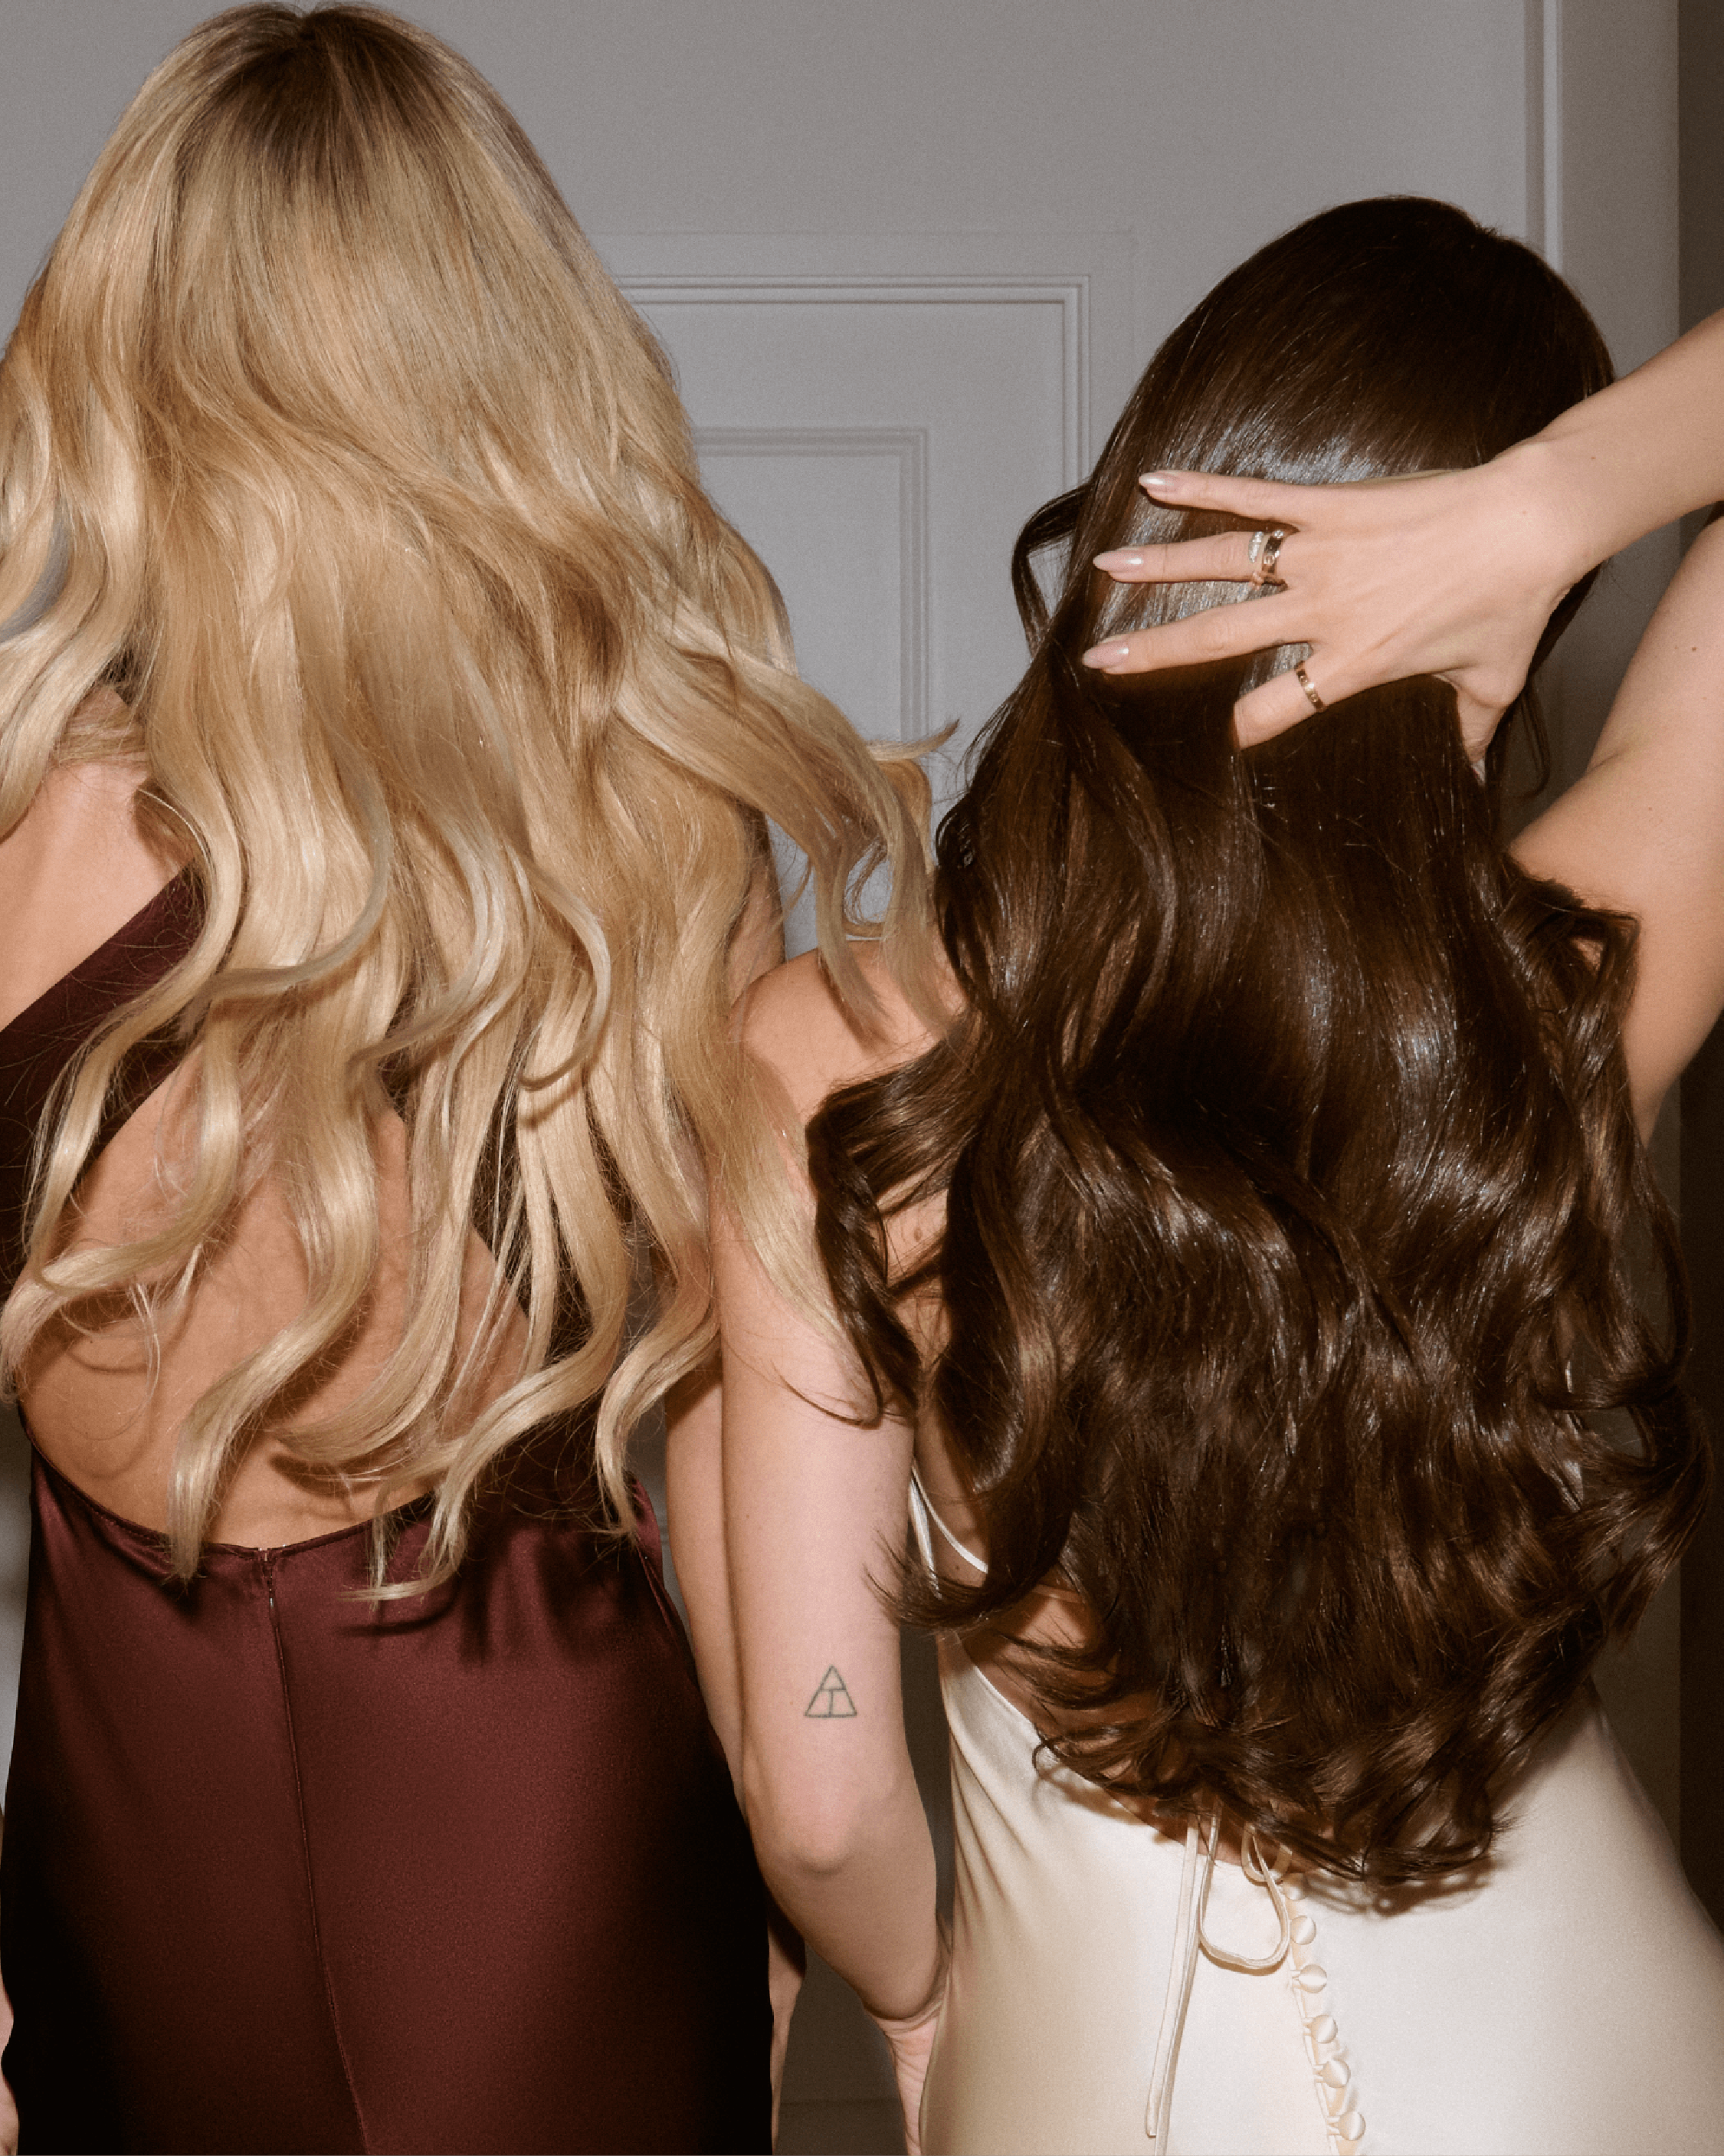
For those who want instant mermaid hair, add texture to make your halo extensions look super natural. Waves or curls are our go-tos as they let the hair and extensions naturally come together.
Read Next: Lazy Day Looks: Easy Hairstyles With Halo Hair Extensions
Using Hot Tools for Seamless Blending
For salon-worthy hair right at home, we love these tools because they're the best hot tools for hair extensions. They all come with dual voltage, so you can easily travel with them and have gorgeous thick hair in whatever city you're in.
Boujee Beauty Hot Tools
Have you ever accidentally burned yourself while curling your hair? Same. We never knew it was because the curling rod was just a bit too short.
Which is why we love how Boujee Beauty's Double Infrared Curling Iron has the longest barrel ever. When we asked the team for their Boujee Beauty hot tools reviews, everyone agreed it cut the time between curling hair. It makes it really easy to reach the back of the head without getting singed!
How to Use to Blend Halo Extensions:
- Spritz heat protectant on your hair. Once dry, add some texturising spray to give hair some grit and staying power.
- Section your hair and start curling each area from front to back.
- When you're done, apply a bit of hairspray on your natural hair to set your curls. Do this before wearing The Halo because you can't use hairspray on it.
- Loosely clip the top part of your hair.
- Put your halo extensions on and start curling them, as well.
- Take your top knot out and brush your curls out so they look more voluminous and to ensure no hair is sitting underneath the wire.
GHD Hair Straighteners
GHD has mastered the art of smoothing out hair. Whether you have short, medium, or long strands, they have a wide range of flat irons that give you versatile styling and long-lasting results.
How to Use to Blend Halo Extensions:
- Before wearing The Halo, make sure it's been cut to your desired length and it has layers. Make sure your hair doesn't have a blunt cut and has feathered ends.
- Liberally spritz heat protectant, both on your hair and the extensions.
- Place The Halo on your head as you normally would. Brush it out to completely cover the wire.
- Start taking 1-inch sections of your hair and pressing the flat iron between them, flipping the ends inward. This will give you a sleek '90s blowout.
- Do this until your whole head has been straightened.
Mermade Hair Waver
You've probably seen countless TikTok videos of girls giving themselves beachy, mermaid hair using a pretty pink hot tool that looks like three curling irons combined. Meet the Mermade Hair Waver!
Who wants to constantly flip hair or hold tools at a certain angles to get beautiful waves? With the Mermade Hair Waver, you just press and you're done. Check out how to get instantly beautiful waves with your halo extensions with this Mermade Hair Waver tutorial.
How to Use to Blend Halo Extensions:
- Spritz heat protectant on your hair and The Halo.
- Place your extensions as normal, making sure your natural hair is covering the wire.
- Wear the glove that comes with the Mermade Waver to protect your hands.
- Section your hair and start waving each area.
- Don't brush it out as this will destroy the waves and land you in a frizzy mess.
Read Next: 5 Halo Hair Extension Before and Afters You Have to See to Believe
Trending Styles with Halo Extensions
Beachy Waves
We love wearing beachy waves with halo extensions. They're like twins; you can't use one without the other.
Adding texture spray to your natural hair will help keep your waves' hold from day to night. Avoid spraying it on your halo extensions as the only thing that should be spritzed on it is a heat protectant!
Sleek and Straight
Yes, wearing your hair straight with The Halo is totally possible! Heat protection is always key to shielding both your natural mane and the extensions as overdoing the can ruin your halo—and of course, your own hair.
When straightening your hair, always take 1-inch sections. This ensures the flat iron's heat is evenly distributed. Running it over big chunks won't save you time. In fact, it will only lead you to using the iron on the same section multiple times, possibly causing more damage.
Voluminous Curls
Bouncy curls are so easy, especially when you've got a trusty curling wand to do half the work for you. The other half? Your halo extensions, of course.
To prevent your curls from drooping in the middle of the day—because no one wants that—set your natural hair with hairspray once you've curled them all.
Place The Halo after and proceed with curling it. Don't worry, the extensions' curls won't drop down.
Read Next: How Hair Extensions Work And Why They're So Popular
Extra Tips to Care for Your Halo Extensions
Your halo extensions arrive at your doorstep looking beautiful and we want to make sure they stay that way. So, take note on how to care for your Halo:
Always wet your new Halo before using it. Don't wash it with any shampoo, just wet it under running tap water. Leave it to dry overnight or blow dry it.
Wash your Halo every 3 months only with a hair extensions-approved shampoo and conditioner. Avoid using your own shampoo or oil-based ones as it can clog up the wefts of hair.
Always protect your Halo before heat styling. Any heat protectant will do!
Don't use any other hair product on The Halo. Hair serums, gels, mousses, hairsprays, and oils are just going to ruin the texture and turn it into a sticky, matted mess. Heat protectants are the exception!
Store it in a cool, dark place. You can always put it back in the Sitting Pretty box and put it in either your drawer or closet to protect it from the sun.
Avoid touching or pulling your hair throughout the day. You wouldn't want to accidentally remove The Halo and reveal your secret to glamorous hair.
Invest in quality heat styling tools. They aren't just better for your hair, they help create a seamless blend with the halo extensions, too.
Ready to try your own Halo-fied hairstyle? Share it on Instagram and use the hashtag #SittingPrettyHaloHair!
Read Next: Embrace Your Greys: The Ultimate Guide To Choosing Grey Hair Extensions
Get Your Dream Hair with Sitting Pretty Halo Hair Extensions
Check out The Halo and find a colour that matches you! We've got over 20 shades to choose from—blondes to reds to balayage, and even grey hair extensions.
If you want to also check our go-to hot tools, visit Boujee Beauty, GHD, and Mermade.
