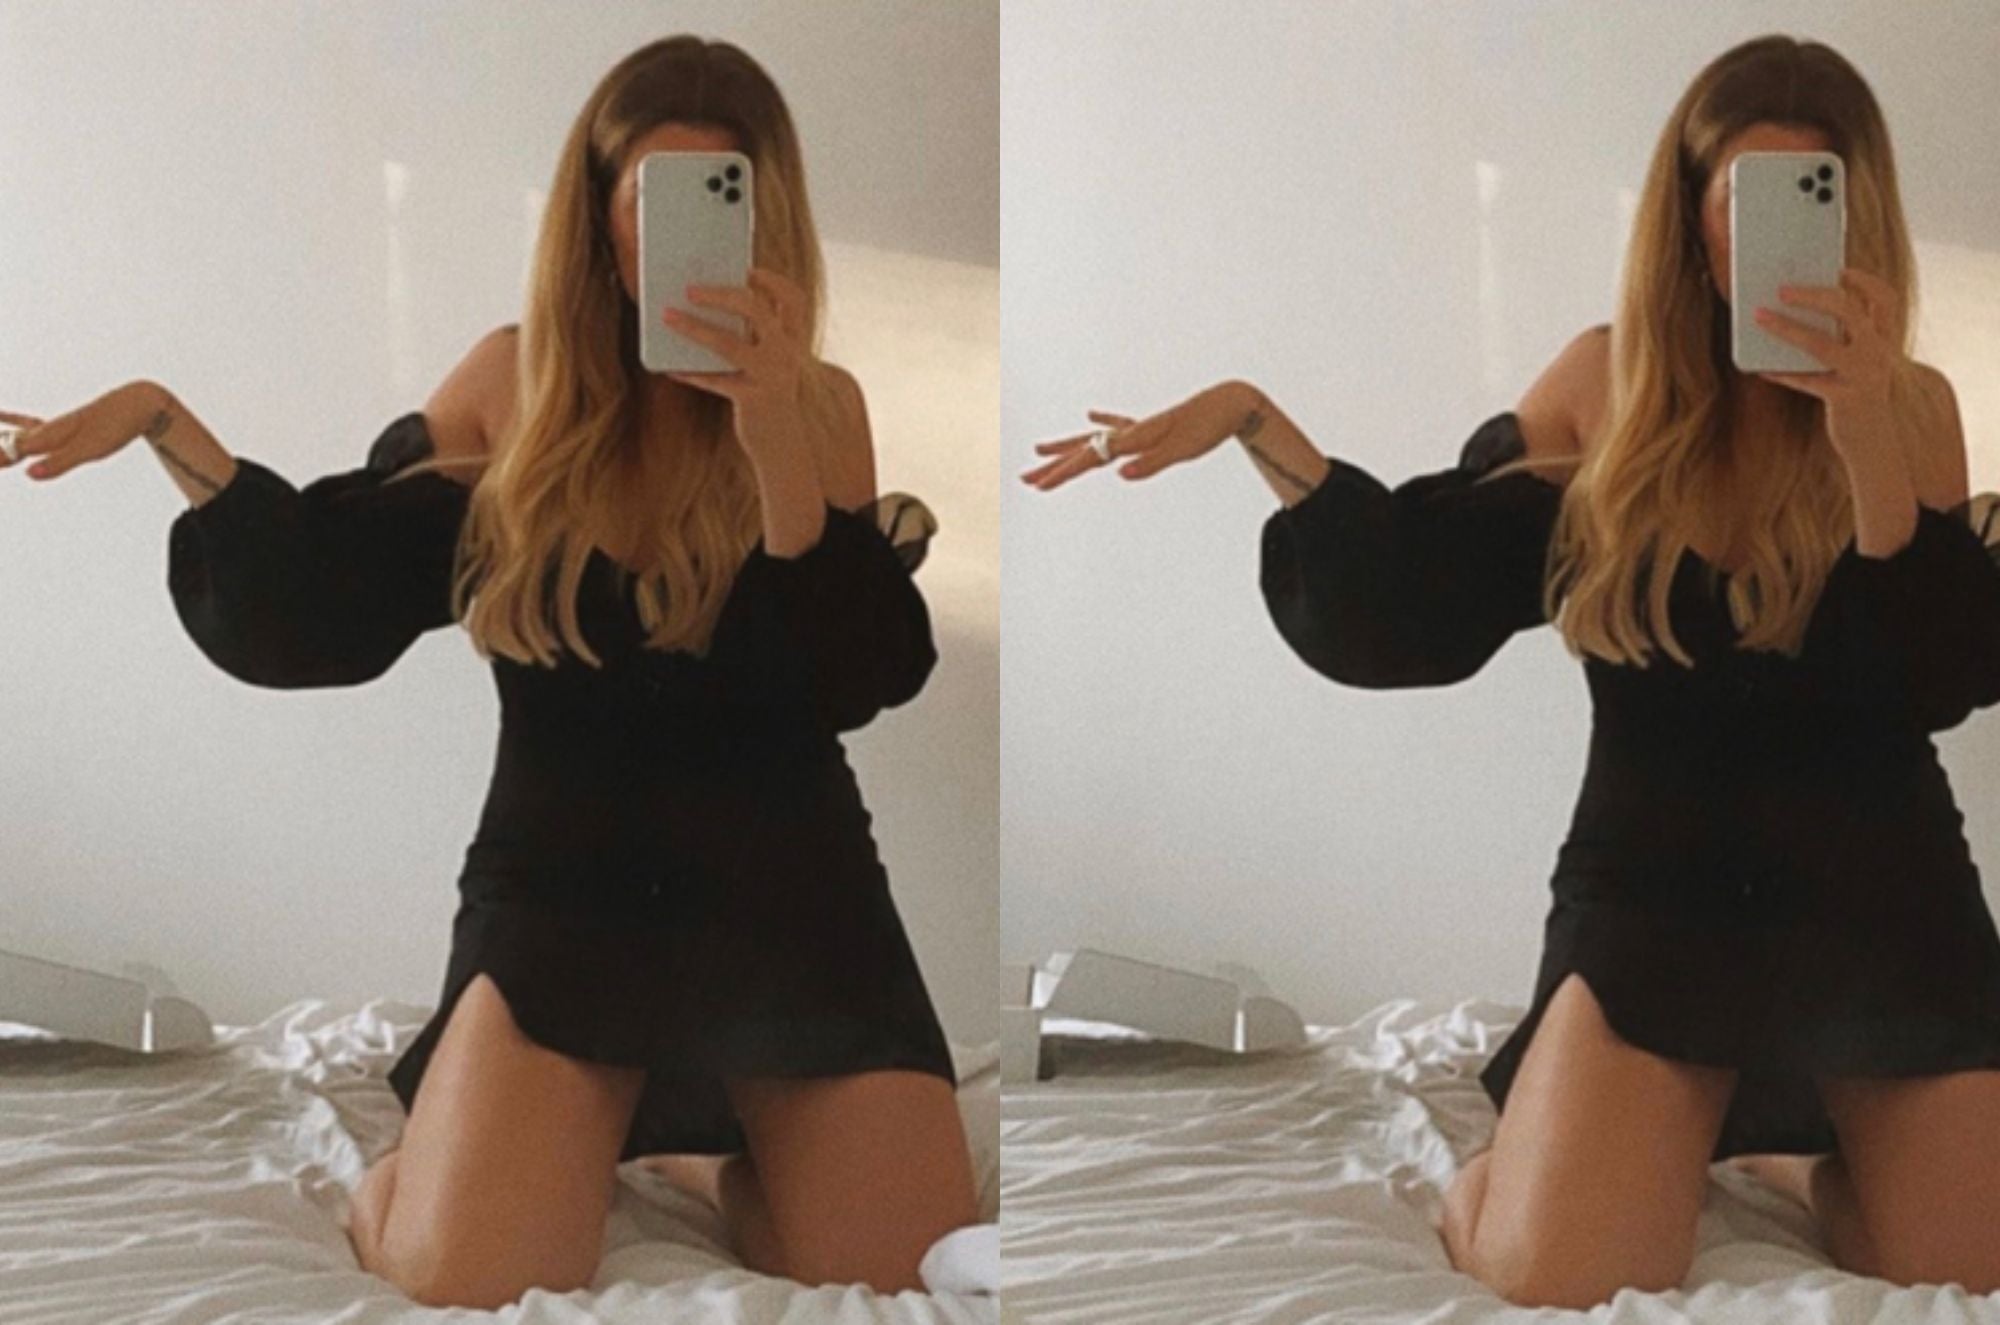


How To Wear Hair Extensions If You Have Thin Hair
Ever wondered how your favourite celebrity or content creator make their thin hair so thick? While it has a lot to do with the products they use and their diet, their number one secret is hair extensions. And you can, too!
Hair extensions are the best tool for thickening and lengthening thin hair. So, if you want to know how to use hair extensions for thin hair, stick around and keep scrolling.
Read Next: The Best Hair Extensions For Fine Hair
1. Choose the Right Type of Hair Extensions
Believe me when I say that the choice of extensions can be the difference between flaunting a full, healthy-looking mane and struggling with breakage and further damage.
When it comes to finding the best hair extensions for damaged hair, halo extensions stand out in the crowd. Why? The difference lies in the unique way halos attach to your hair.
They wrap comfortably around your head, and this is crucial, not on your delicate hair roots. This ingenious design ensures there's no extra weight burdening your natural tresses—a complete game-changer.
Remember those horror stories of glues leaving residue, tapes causing tangling, clip-ins leading to breakage, and beaded extensions turning into a nightmare?
With halo extensions, these worries are a thing of the past. Any other hair extensions that attach directly to your natural hair are, in essence, going to pull and stress your already fragile locks. Not only do halo hair extensions not damage your hair, but they also prove to be a boon for hair that's already been through the wringer.
So, for those of you asking, "Do halo hair extensions damage your hair?"—the answer is no! In fact, they offer a protective alternative, giving your natural hair a break, while you continue to flaunt the length and volume you desire.
So, next time you're weighing your options, remember this: with the right extensions, you can have style and substance. And in the world of hair extensions, that's a rare find.
Read Next: How to Make Thin Hair Look Thick
2. Wash and Dry Your Hair The Right Way
Have you ever had one of those days when you thought, "Am I even washing my hair correctly?" Washing your hair might seem like an uncomplicated routine, but there's a bit more to it than just lathering, rinsing, and repeating. So, let’s talk hair washing hacks, shall we?
The Myth of Shampooing the Length of Your Hair
Let's get one thing straight: dirty hair is a result of a dirty scalp, not dirty ends.
Avoid gathering all your hair on top of your head while shampooing. This doesn't do your hair any favours, and neither does rubbing the shampoo onto the ends of your hair. Both of these practices can harm your hair cuticles and leave the ends parched.
Since most of the dirt accumulates at the scalp, it's only the scalp that really needs a good cleanse. You should even start thinking about exfoliating your scalp instead.
When you shampoo, visualise yourself giving your scalp a luxurious massage, focusing primarily on the top, back, and sides. Trust me, this approach will leave you with not just a clean head, but refreshingly clean hair too.
How Much Shampoo is Too Much?
Pro tip: use two dollops of shampoo, each roughly the size of a 25-cent coin. One portion for the top of your scalp and another for the back. When shampooing the sides and back, ensure you're handling your hair to let the product get in touch with the scalp directly.
If certain areas of your scalp tend to become oily fast, perhaps you're not massaging your shampoo properly. So, next time you wash, really prioritise getting into those nooks and crannies.
The Art of Air-Drying
You've mastered how to properly shampoo, now it's time to master the basics of natural drying. Ever wondered how to dry your hair fast without a blow dryer? It's not as complicated as it sounds. Here are some steps to help you get there:
Microfibre Towel Magic: Switch to a microfibre hair towel. Its super absorbent qualities mean you'll spend less time dripping and more time flaunting those dry locks.
Let Your Hair Breathe: Keep your hair down and loose. It’ll thank you for drying faster. And don't forget that wide-tooth comb to ensure better airflow.
Blot, Don’t Rub: It's tempting to vigorously rub your hair with a towel, but resist! Gentle blotting is the way to go if you want to avoid the twin nightmares of frizz and breakage.
Section It Out: Breaking your hair into sections, like sides and back, ensures uniform drying.
Flip It Good: Every now and then, give your hair a good flip. It might seem silly, but this small gesture can speed up the drying process.
Turn to Trusted Products: Leave-in conditioners or styling products can make air-dried hair look sleek and shiny. Use them to maintain the natural beauty of your hair.
Read Next: 12 Hairstyles To Transform Thin Hair
3. Brush Your Hair Properly
You've probably heard the tale of brushing your hair a hundred times a day for that enviable shine. While we're not counting strokes here, there's truth in the idea that proper brushing techniques can lead to healthier and shinier locks, especially if you have thin hair.
Plus, when you know how to brush your hair properly, it sets a solid foundation, ensuring you'll know how to use hair extensions for thin hair seamlessly.
A good brush stimulates blood circulation in the scalp, which, in turn, encourages new growth and a healthier scalp overall. One of the best brushes for thin hair, in this context, is the boar bristle brush. It's not just a fancy name; there's solid science behind its effectiveness.
The soft, natural bristles of the boar bristle brush don't just glide through the hair; they massage the scalp. As they do, they distribute the scalp's sebum, or natural oils, along the strands of your hair.
The result? Hair that's not only softer, but shinier too.
Mastering the Art of Brushing
Knowing how to brush your hair properly is crucial, especially for thin or fine hair. It can mean the difference between gorgeous, gleaming locks and hair fraught with breakage.
1. The Dry Rule: Always start with dry hair. It's the golden rule. When your hair is wet, it's at its most vulnerable, easily stretching and breaking. If you've got tangles, gently detangle them before stepping into the shower, or wait until your hair is bone dry post-shower.
2. Choose Your Weapon—I Mean, Brush: Much like choosing your favourite pair of shoes, selecting the right brush is paramount. Here’s a quick rundown based on hair type:
Hair Texture:
Fine Hair: Brushes with soft bristles, such as boar bristle brushes, are your allies. They tread lightly on those delicate strands.
Thick Hair: Opt for brushes with wider-spaced bristles or the trusty paddle brush. These champs handle the weight and volume of thick hair like pros.
Hair Length:
Short Hair: For those chic, short styles, a compact brush with rounded bristles or a vented brush does the trick.
Long Hair: If you're flaunting longer locks, get your hands on a brush with longer bristles or a wide-toothed comb. These ensure there's no unnecessary pulling.
Hair Condition: If your hair has seen better days and leans towards the damaged side, it’s essential to be extra cautious. Using brushes with flexible bristles, cushioned pads, or wide-toothed combs can be your saving grace.
3. Always Start from the Ends: Regardless of your hair's health, always, always start brushing from the tips. It's easier to detangle knots at the ends first, and then slowly move upwards to the roots. This technique ensures there's minimal strain on the hair shaft, and it's a lot more effective in preventing breakage.
Read Next: Are Halo Hair Extensions Better Than Clip-ins
4. Section Your Hair
Let’s get something straight: the way you section your hair can make or break the entire look. And it's not just about ensuring the extensions blend seamlessly with your natural hair but also about how comfortable and secure they feel.
Begin with clean, tangle-free hair. The method you choose for sectioning largely depends on the style you're going for. Whether it's a half updo or a full-headed luscious look, remember to prioritise your comfort. After all, you want to rock your extensions with confidence, not keep adjusting them every five minutes!
Read Next: 5 Updos Using Halo Hair Extensions
5. Apply the Extensions
Let's get down to the heart of it all: how to use hair extensions for thin hair.
Step 1: Prepare Your Hair
Start by pulling the top section of your hair into a top knot, leaving two-inch-wide sections out at the front of your face. This technique helps tremendously with blending your extensions later on.
Step 2: Position Your Halo
Place the halo about an inch back from your forehead, pushing the back of the weft down so it sits below your occipital bone. That’s the small bump you can feel at the back of your head. You can choose to secure it with detachable velcro clips; it's your call.
Step 3: Blend Your Hair
Release your top knot, letting your hair cover the halo. Use a tail comb to pull your natural hair over the halo and wire, hiding them effectively. Brush through the ends until the strands blend seamlessly.
Read Next: 3 Instant Tricks To Hide Short Hair Under Extensions
6. Blend the Extensions
We're finally getting to the good stuff, blending your extensions so seamlessly your friends and family will keep asking you what you changed in your hair routine.
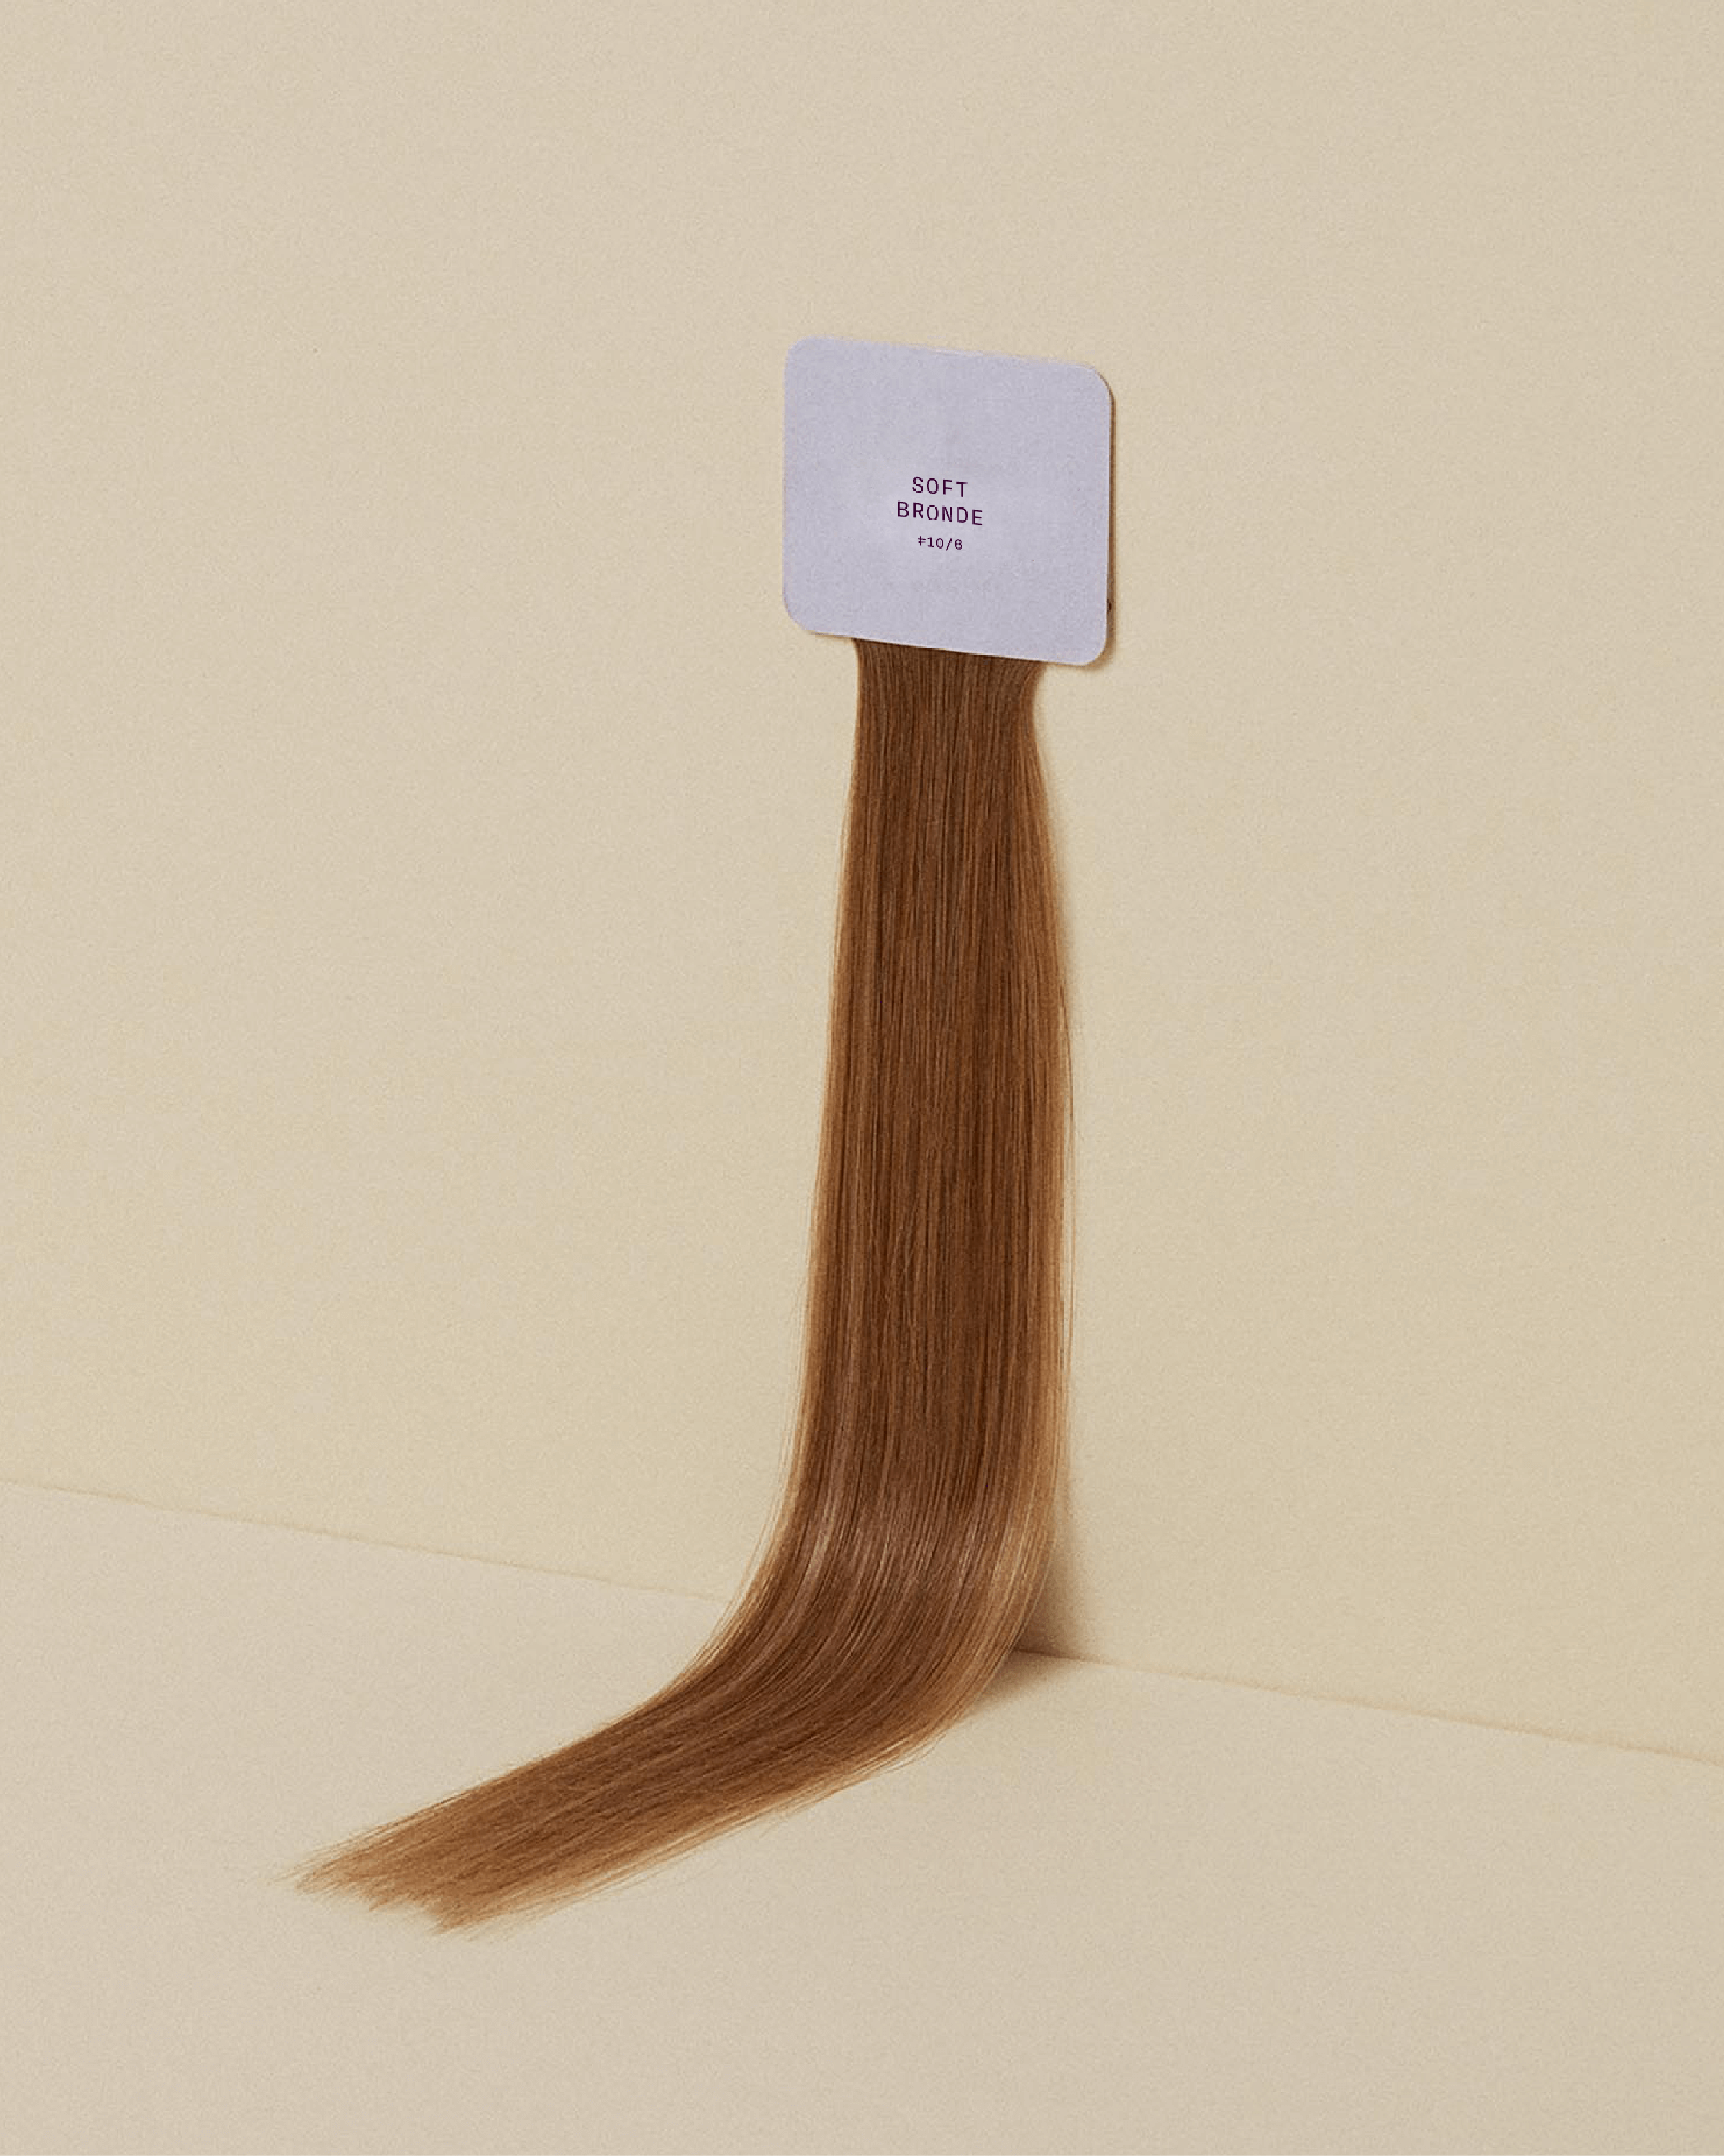
Go Lighter—No Bleaching
When you’re stuck between two shades of hair extensions, go lighter.
Applying bleach to human Remy hair is something you don't really want to do. I learned this the hard way, and let’s just say, it wasn’t pretty. Bleaching can completely alter the texture and ruin the colour. Your extensions are an investment, so let's treat them that way.
If you're really stuck, go to a pro hair stylist that knows their way around peroxide and see if your desired shade is close.
Toning Is Okay
You're probably wondering, "Can you dye your halo hair extensions?" The answer is yes, but with caution.
You can tone your The Halo a shade or two darker to perfectly match your natural hair. If you're getting all professional with colours and toners, ensure The Halo is wet—notice I didn’t say washed—before application. This makes sure your toner glides on evenly, giving you that salon-fresh look.
Sitting Pretty’s halo hair extensions have this amazing multi-strand colouring system, it's not just a flat single shade; it’s a blend of subtle variations. This does two things: firstly, it mirrors the natural variation in your own hair because let's face it, not every strand is the same colour. And secondly, it offers versatility, increasing the chances of a perfect blend with your natural hair.
Read Next: 8 Halo Hair Extensions Tips And Tricks You Need To Know
7. Take Care of Your Extensions
Just like your own natural locks, hair extensions can soak up oils, accumulate product build-up, and even get a little tangled after a few wears. Now, if you're wondering "how to wear hair extensions for thin hair" without making them look worn out too soon, the key lies in proper maintenance.
Let's dive into the specifics of “how to wash your halo hair extensions” and general care to ensure they remain as glamorous as the day you first met them.
Why You Need to Wash Your Halo Extensions
Think of your halo hair extension as your trusty sidekick, your secret weapon in the world of fabulous hair. But even heroes need a little TLC. Washing them is essentially giving them a spa day.
It's not about daily maintenance, but about timely care. It might surprise some of you, but you really don’t need to wash these extensions often. For those who use them every day, especially during sweaty activities like intense spin classes, you might need to show them some love more frequently.
Yet, in most scenarios, less is more. Aim for once every 2-3 months. Yep, it sounds infrequent, but it's about quality, not quantity.
Before the Wash: Prepping Your Halo Extensions
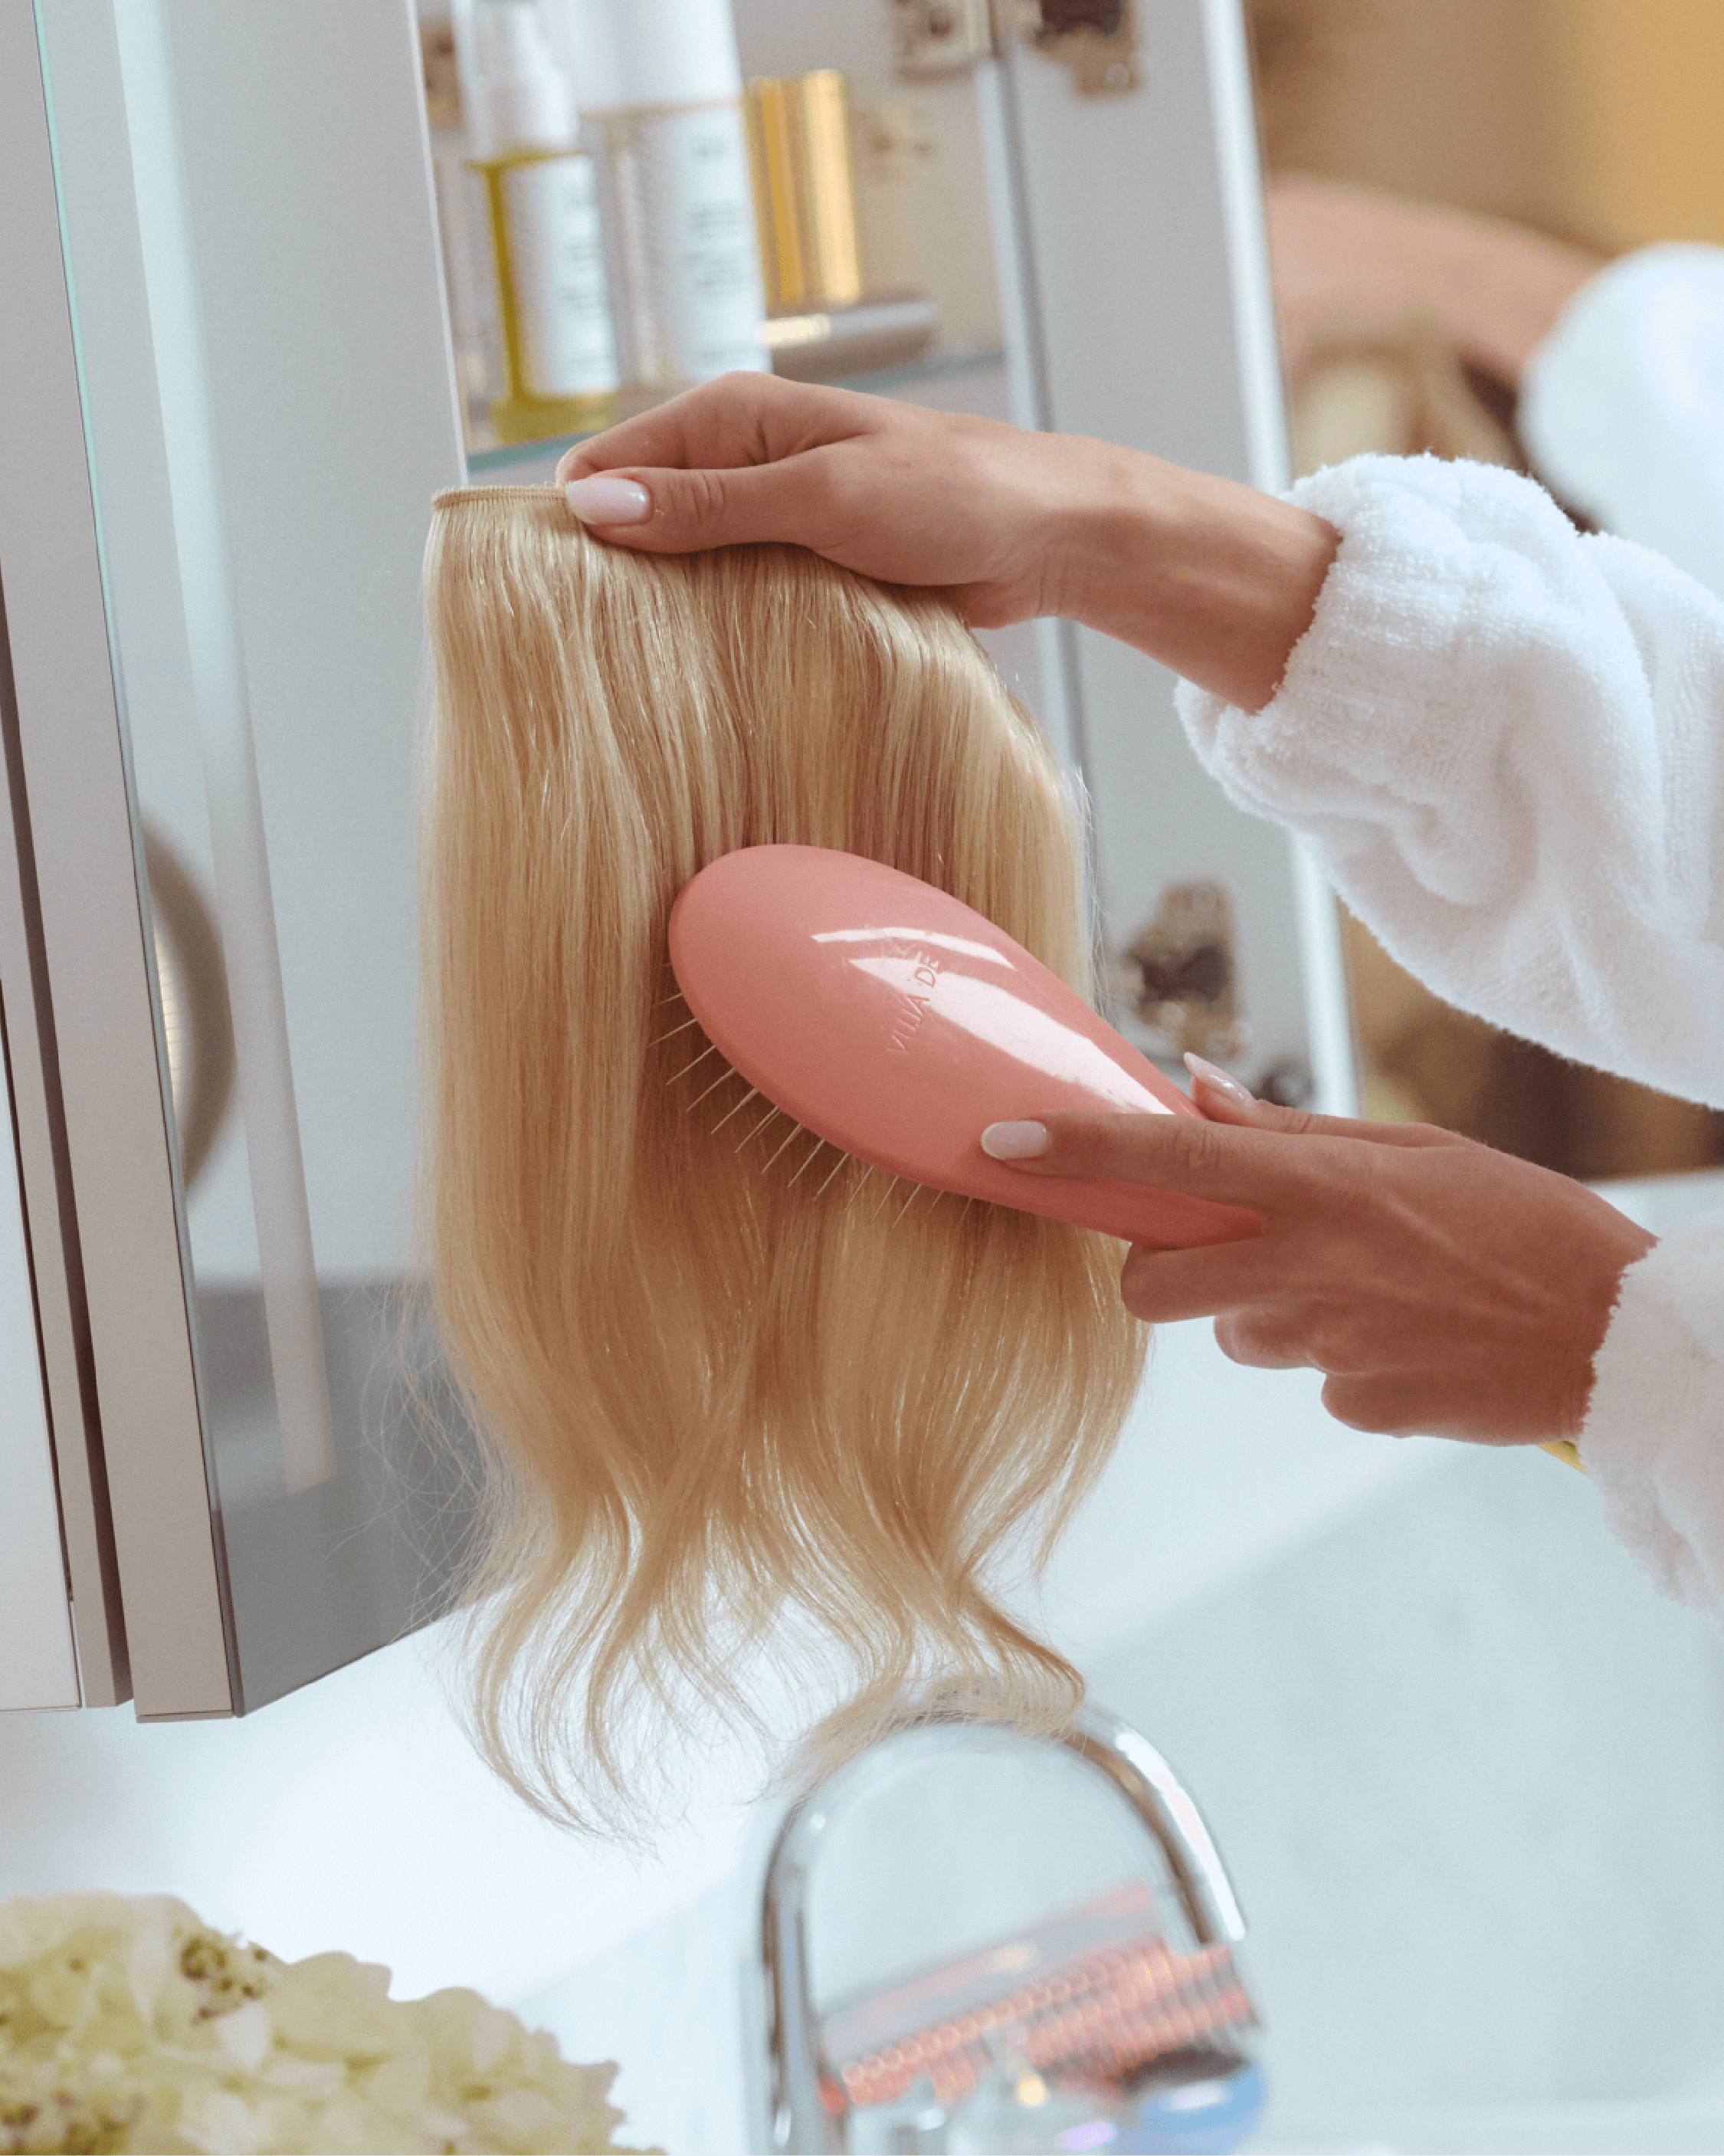
Preparation is crucial. Before diving into "how to wash hair properly", especially extensions, there's the groundwork to be done. Remember, hair extensions can be more prone to tangling. Therefore, a good, gentle brush is your first ally. Working from the bottom upwards, gently tease out any knots. This step is essential to ensure smooth, hassle-free washing.
The Proper Way to Wash Your Halo
Soak Right: Place your halo hair under cool running water. Let the water flow from the top down. Your extensions are built tough, so you don’t need to tiptoe around them too much.
Shampoo Time: Work a halo-friendly shampoo through the extensions. It's essential to find a shampoo suited to extensions—not all are created equal. A gentle formula without harsh chemicals is your best bet. Lather generously but gently, always moving downward to prevent tangling. Once you've worked the shampoo in, rinse thoroughly. The last thing you want is residue.
Condition with Love: Apply a liberal amount of conditioner. Smoothen it through, wait for about 5-10 minutes, and then rinse. No need to leave it in overnight; extensions absorb nutrients fast!
I get asked often about the difference between our Sitting Pretty halo hair extensions versus the likes of other brands. It's not just about quality, but also the ease of care. We've realised how essential it is to have products specially formulated for extensions. That's why our Gentle Halo Shampoo & Conditioner are tailored for halo extensions—ensuring longevity and vibrancy.
After the Wash
Remember to let them dry naturally.
The bottom line, halo hair extensions are the most hair-friendly way to add volume and length, especially for those with fine or thin hair. So next time you’re yearning for that luscious look, you know exactly how to wear hair extensions for thin hair. And with a bit of care, they can last you a very long time, making every day a good hair day.