These 15 Tips Will Show You How To Dye Your Hair Like A Pro
We’ve all been there: looking at the current state of our hair and thinking, “This could use a revamp.” Now, there's no shame in looking for tips on how to dye your hair at home. You’ve come to the right place!
By the end, you’ll know everything the pros know—from choosing the right shade to mastering the art of the at-home dye job. Ready to dive in?
Is It Safe to Colour Your Hair At Home?
You might be wondering: Is colouring your hair safe? The short answer is, mostly, yes. But, you need to read the box’s instructions like your next meal depends on it. Trust me, I've skipped over the instructions and lived to regret it.
Make sure you also do the allergy patch test they talk about. The last thing you want is an itchy scalp or worse, a severe allergic reaction. Always, and I mean ALWAYS, follow the suggested time frame. Don't try to overachieve and leave the dye in longer, thinking it'll look better. Spoiler: it won't.
Read Next: How To Find Your Perfect Hair Extensions Colour
1. Choose the Right Shade for Your Skin Tone and Natural Hair Colour
Choosing the right shade is the foundation of your hair colouring journey. Your skin tone and natural hair colour are your best guides. I remember standing in the drugstore, completely overwhelmed by the many options. Reds, browns, blondes—you name it.
If you have cool undertones, think about shades like ash blonde or cooler browns. On the flip side, if you’ve got warmer undertones, richer hues like golden blonde or copper could be your go-to.
Read Next: 10 Ombre Hair Colours Trending Right Now
2. Buy Enough Hair Dye
There’s nothing worse than running out of hair dye halfway through the process. Trust me, you don’t want to be left with patchy, uneven hair and a crushed spirit.
A good rule of thumb is two boxes for medium to long hair and one box for shorter styles. If your hair is particularly thick, stock up on an extra box just in case.
Read Next: Hair Trends To Wear This Season
3. Don't Mix Shades
You might wonder why blending two of your favourite colours to create a unique shade is not the best idea. When it comes to knowing how to dye your hair or how to dye your hair effectively, the key is consistency. The hair dyeing process is more art than science when done at home.
If you opt for mixing, you're essentially rolling the dice, hoping for a spectacular outcome. And while some risks in life are worth taking, playing Russian roulette with your hair's hue isn't one of them.
Remember, hair dye reacts differently based on a multitude of factors, including your natural hair colour and its current condition. A slight miscalculation can lead to patchiness, excessive fading, or, worse, a colour that looks nothing like what you had in mind. So, prioritise consistency and stick to a singular shade.
Read Next: Everyday Hair Hacks Using Halo Extensions
4. Test the Hair Dye on a Small Strand of Hair First
Wondering how do you dye your hair without the shock of it not being your desired shade? A strand test. This step ensures that the final result is in line with your expectations.
The strand test will also give you insights into how bleach might damage your hair or how to protect it from unforeseen reactions. It's like the old saying: measure twice, cut once. In this case, test once, dye once.
Read Next: 10 Steps To Protect Your Skin From Hard Water
5. Wear Easy to Remove Clothing and Lay Down Towels
Box hair dye is a sneaky beast. One moment you’re carefully applying, the next, you've got splashes resembling an abstract art piece on your pristine white tee and floors.
Now, I'm not suggesting you dress like you're heading to a paintball match, but some thoughtful decisions can save the day. A simple, old T-shirt (preferably dark-coloured) will do the trick. Maybe even an old button-down shirt so you can remove it without smearing dye everywhere when you're ready to wash it out.
Also, consider laying down old towels, newspapers, or even plastic bags on surfaces where you'll be working. This will reduce cleanup and guarantee your surroundings remain as clean as possible.
Treat your dyeing session like a spa day. Wear something comfy, easy to remove, and nothing you’d cry over if it acquired a few extra "designs".
After all, when you’re figuring out how to dye your hair, it’s better to be safe than sorry.
Read Next: Can You Dye Your Halo Hair Extensions?
6. Wear Disposable Gloves to Protect Your Hands
Staining your hands with dye isn't just an unsightly issue; it’s a rookie mistake. And if you're wondering how to dye your hair at home, you'll want to get the hang of the basics. Many overlook this step, especially when using lighter shades or pastel-coloured hair dyes.
Nothing screams, “I just dyed my hair at home,” like hands that match your head.
Fortunately, many dye kits come with gloves. And if, by some twist of fate, yours didn't, those clear kitchen gloves hiding under your sink are a worthy substitute. Not only do they prevent stains, but they also keep any harmful chemicals in the dye off your skin.
Read Next: Dyeing Your Own Hair: Avoid Damage During the DIY
7. Make Sure Your Hair is Completely Dry
This is crucial. Dying your hair isn’t like hair washing, where damp hair can sometimes be a boon. Wet hair can dilute the dye, making the colour come out uneven or not as vibrant. For a dye to work its best, it needs to penetrate the hair cuticles properly.
Dry hair is its best ally. If you've recently bleached your hair to a blonde shade, ensure it's thoroughly dried and given some time to rest before you apply colour.
Read Next: Why You Should Shop Ethical Hair Extensions
8. Use a Professional Hair Colour Dyeing Kit
A professional kit usually includes a bowl, a brush, and often some additional hair products that are essential to the process. The brush allows for even distribution, helping avoid patches or over-saturation.
Also, if you’re wondering how to hydrate hair after bleaching, many of these kits come with bond builders for hair or deep conditioning treatments that offer a helping hand.
Read Next: How Bleach Damages Your Hair: The Science Behind It
9. Start at the Roots and Work Your Way Outward
Pro Tip: Always start at the roots because they take the longest to colour, especially if you're covering greys or dealing with regrowth.
As you work the dye in, you're giving those roots a head start. And when you’re trying to keep brown hair from fading or any other shade for that matter, this method ensures an even, lasting colour.
Read Next: Why You Should Invest In Good Quality Hair Extensions
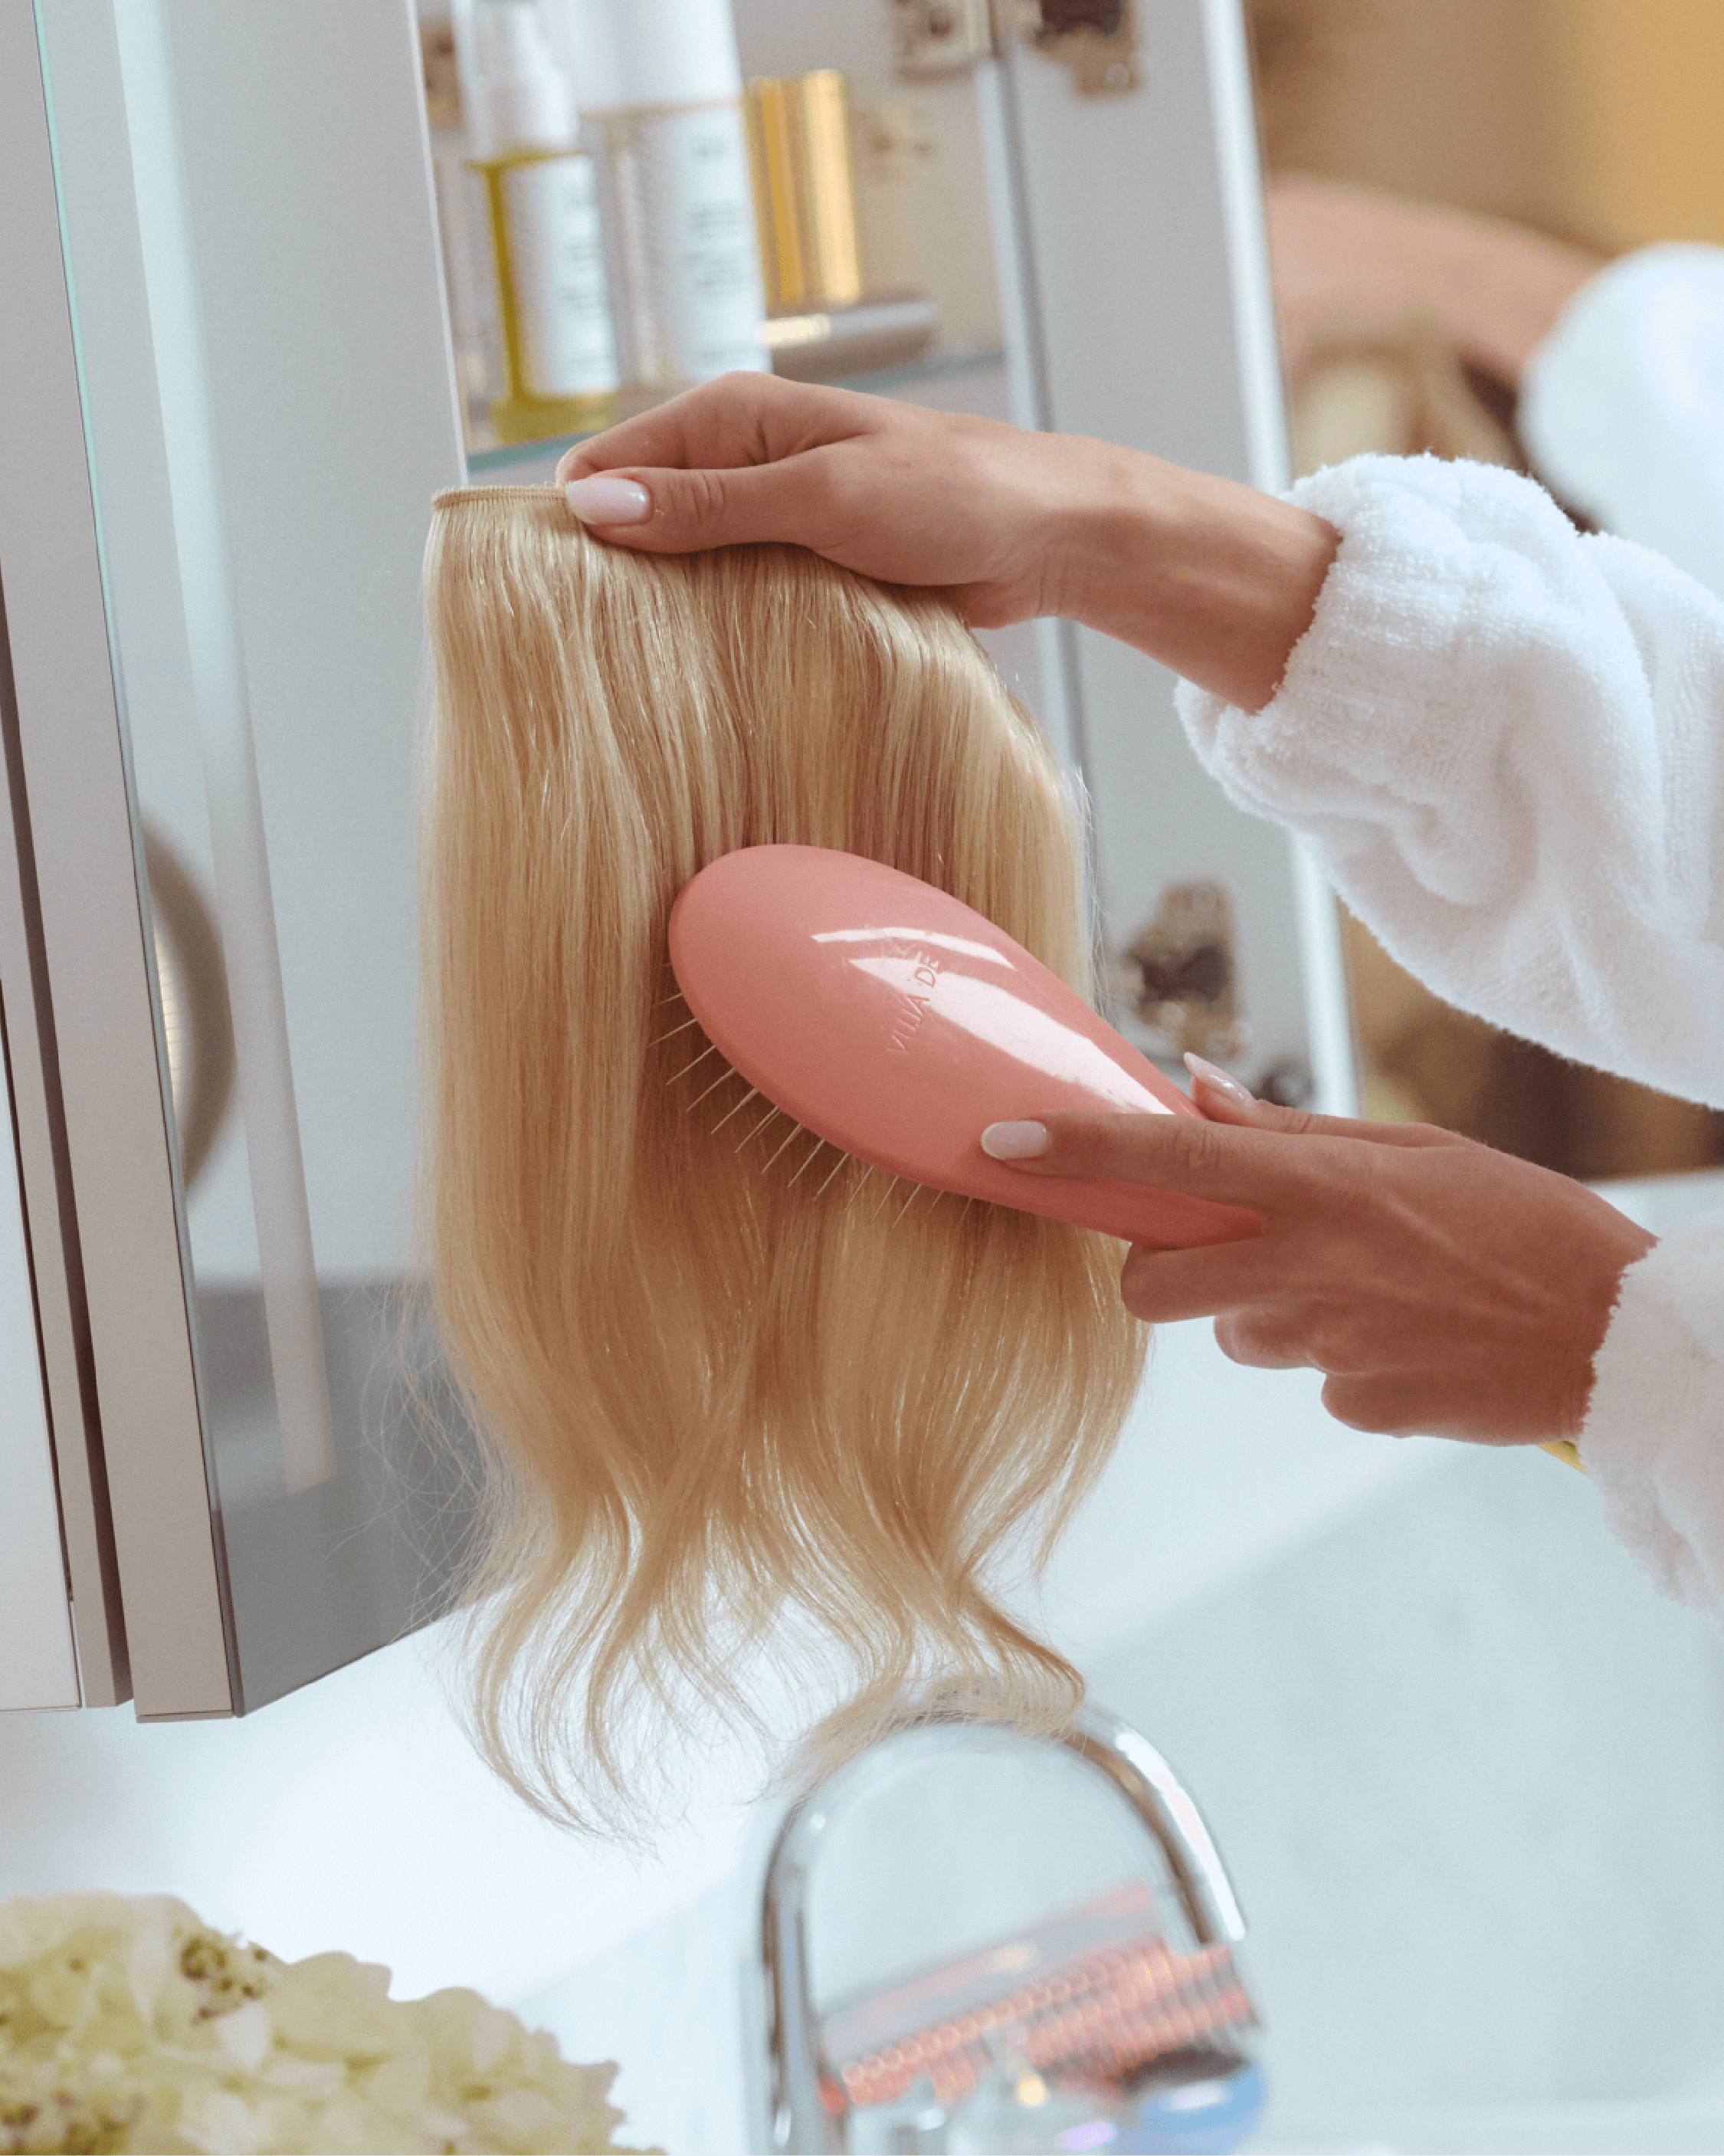
10. Use Two Mirrors to Ensure Complete Coverage
Using a second mirror helps you see the back of your head, ensuring you haven't missed any spots. It's a simple step that makes a massive difference, especially if you're dyeing hair at home for the first time.
Read Next: 10 Hairstyles You Can Achieve With Hair Extensions
11. Use a Toothbrush to Highlight Strands of Hair
This is crazy, but a toothbrush isn’t just for your pearly whites. It’s one of the best tools to use if you're not aiming for an all-over colour and just want to add some subtle streaks of sun-kissed hues.
Dip a toothbrush into your dye and brush it onto strands for precise application. This method is perfect for those wanting a more nuanced approach to their hair colouring game.
Read Next: 13 Types of Blonde Hair to Try Right Now
12. Cover Hair with a Shower Cap While Waiting for Dye to Set
Instead of wandering around and risking dye transfer, snugly fit a shower cap over your hair. Not only does this avoid potential mess, it also ensures the dye penetrates the hair cuticles properly.
It locks in warmth, which can intensify the dyeing process. It's a simple trick, but one that many who dye their hair at home often overlook!
Read Next: 10 Natural Hard Water Hair Treatments That Work
13. Don't Wet Your Hair for 48 Hours After Colouring
You've done it! You've mastered how to dye your hair at home. But the process isn’t over. One of the most common mistakes people make after colouring hair at home is rushing to wet their hair again.
So, what's the big deal with waiting 48 hours? When you colour your hair, especially if you’re going lighter or using bleach, it opens up the hair cuticles.
Those first 48 hours are essential for the cuticles to close and for the colour molecules to settle in. Dive into showering too soon and you risk washing out the dye, leading to faster fading and less vibrancy.
Also, in the initial days post-dyeing, consider using a deep conditioning treatment. It’s a lifesaver for your hair, especially if bleach came into play.
We all know how bleach damages your hair, stripping it of its natural moisture. A conditioning treatment can be the nourishment your hair craves.
Read Next: The Best Shampoo Bars For Every Hair Concern
14. Use Colour-Safe Products to Protect Your Hair Colour
The next thing on your list should be making sure your new hair colour sticks around.
Not all shampoos and conditioners are created equal. You’ve worked hard, so don’t cut corners now. Swap out your regular hair products for those specifically made for coloured hair.
Colour-safe products, like certain hair hydration treatments and hair masks for dry hair, have fewer harsh chemicals, like sulfates, that strip away dye. Instead, they're laden with nourishing ingredients that help maintain your hair's vibrancy.
Always prioritise keeping your locks hydrated. Dry hair is more prone to breakage and fading. This is why investing in quality products that promise how to get softer hair is a good idea.
Read Next: My Scalp is Sunburned: Help!
15. Protect Your Hair from Fading with a Hat or Scarf
While the sun is fantastic for beach days and picnics, it’s not your coloured hair's best friend. You might be surprised, but the sun plays a massive role in stripping your hair of its fresh colour.
Prolonged sun exposure can wreak havoc on your hair, fading colour and leaving it dry as direct sunlight can lead to a loss in moisture and colour vibrancy.
But, you don't have to avoid the outdoors or your favourite sunny spots! All you need is sun protection for your hair. Think hats, scarves, or even specially formulated sprays that shield your locks from UV rays.
Not only does this prevent your hair from lightening, especially if it's a dark hue, but it also preserves the health of your strands.
Whether you're dealing with blonde hair or are curious about pastel-coloured hair, the ball is now in your court. Your dream hair colour is just a dye box away!